Manage Files: More Options
On Files, manage an uploaded file using more options ![]() next to the file name to perform the following:
next to the file name to perform the following:
-
Update calibration files without recreating the project.
-
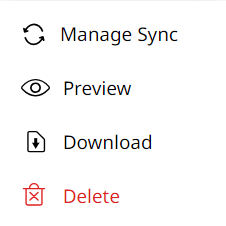
Manage syncing of files to the sites' assets.
-
Preview and visualize design files.
-
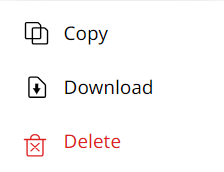
Copy site images from one site to another.
-
Download files to share with teams and further analyze.
-
Delete files and remove them from the site.
Update File
You can replace the existing calibration file without creating a new project. This allows you to
-
make changes early on if the existing calibration file is incorrect and
-
save time and minimize any workflow disruption.
![]() Caution: Once the calibration file is updated, previous data will no longer be available. This includes the previous calibration file and any associated survey, design, geodata and avoidance zone file(s) . Moving forward, all new asset data will be processed using only the updated .cal file.
Caution: Once the calibration file is updated, previous data will no longer be available. This includes the previous calibration file and any associated survey, design, geodata and avoidance zone file(s) . Moving forward, all new asset data will be processed using only the updated .cal file.

• View the name of the one updating along with date and time of update on Audit Logs.
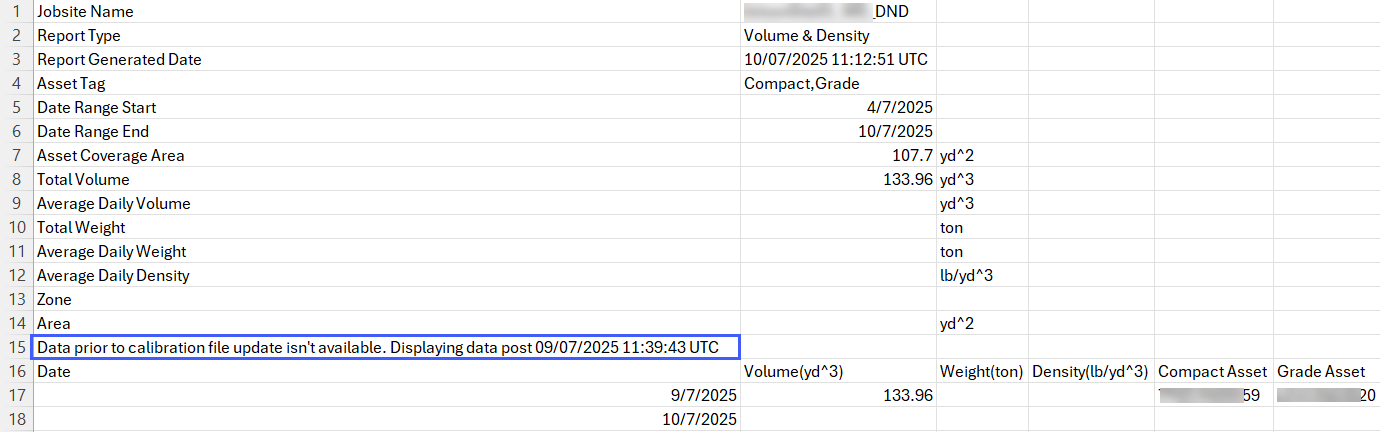
• Data on Production (Site), Insights (Map) and Reports will be visible only after the calibration file has been updated.
• You cannot select date ranges older than the newly updated calibration file date and time to view data or generate report.
◦ In case you want to view the older calibration file and corresponding data, Contact Support ![]() .
.
• When calibration file upload is in progress, receiving a scheduled report or downloading one will result in a report with no data.
View ImageView Image
• If the new calibration file isn’t processed, the old calibration file will still be available. Try updating the calibration file again.
To update an existing calibration file:
-
Select the site drop down
 > click more options
  against the file you want to replace.

In case of an already uploaded .cal file, you may also click > select Calibration to update it.
 -
Select Update.
-
On Update Calibration, drag or drop the required file or browse your local device to upload it.
• On Update Calibration, you can only upload .cal and .dc file types.
• File names shouldn’t contain special characters (\ / * < > | “” % +)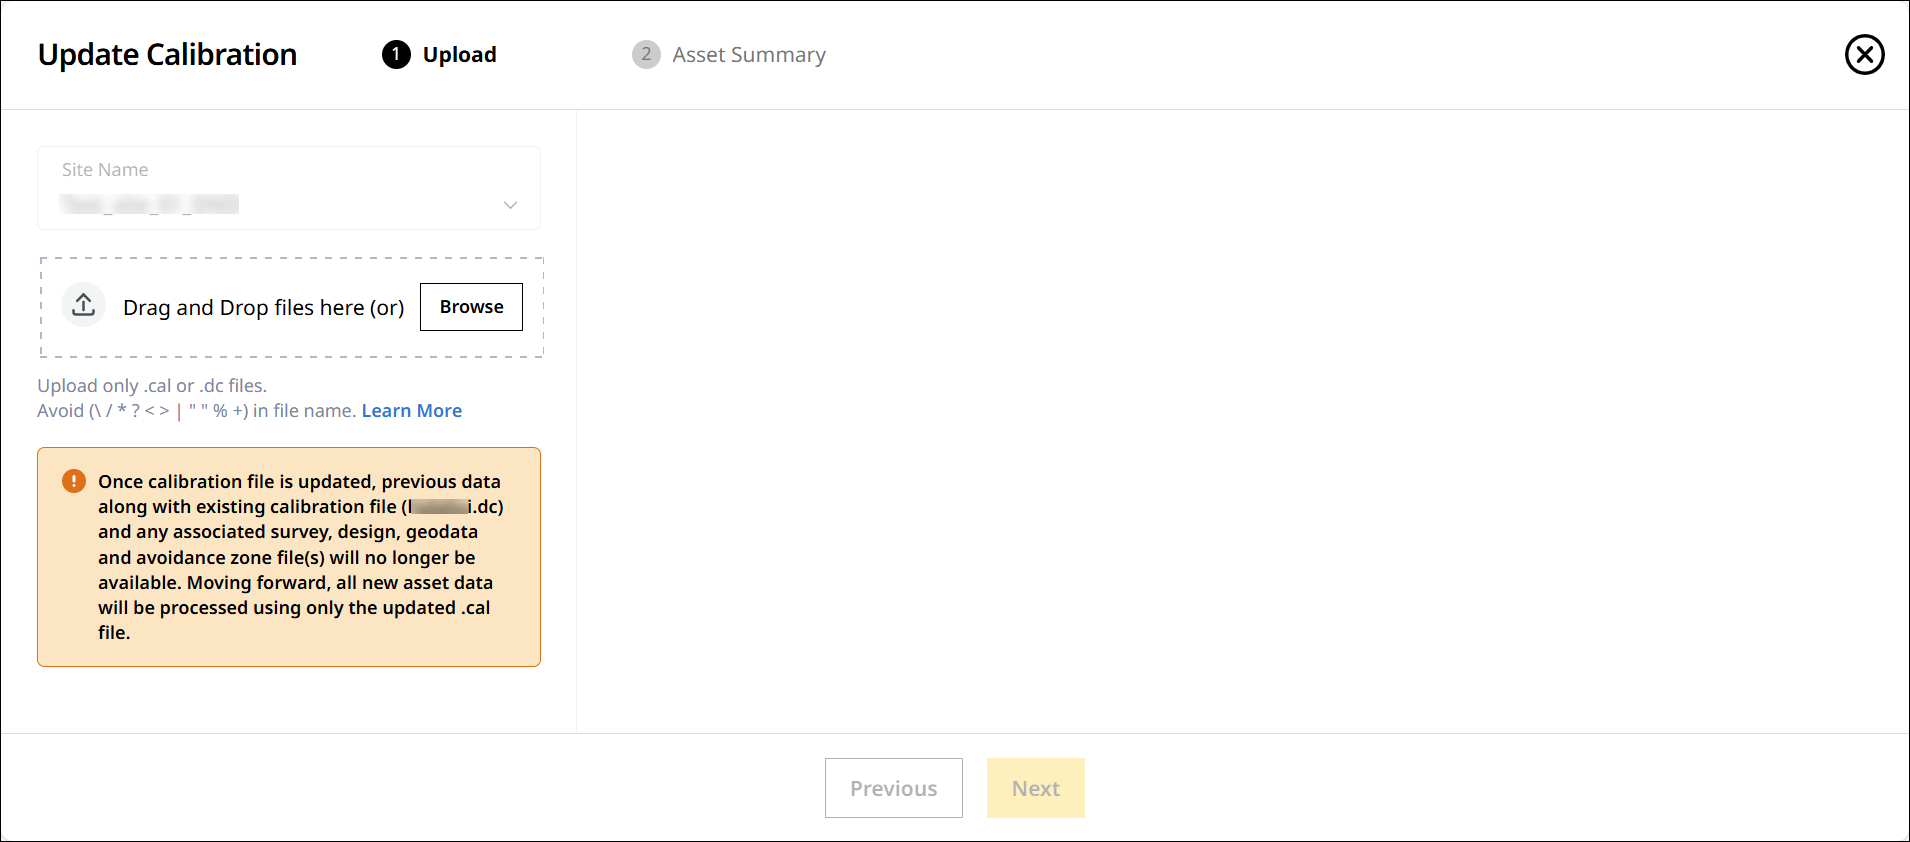
-
Once you add the file, click
 to confirm your action.
 Caution: Once the calibration file is updated, all previous data—including the old calibration file, surveys, designs, geodata, and avoidance zones—will be removed. New asset data will be processed using only the updated .cal file. Data from older .tag files won’t be retained either.
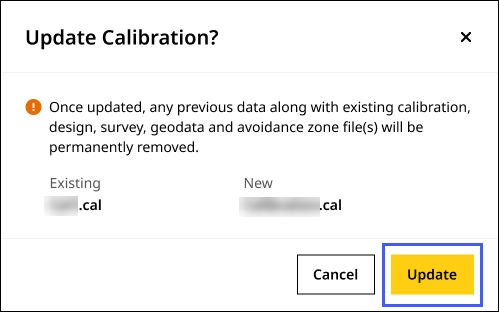
-
Give it a few minutes for the update to complete.
• During file processing, if you choose not to proceed with the upload, click close to exit the process.
• On Exit Upload, click Exit to quit uploading. In this case, the old calibration file will continue to be in use.
View ImageView Image
-
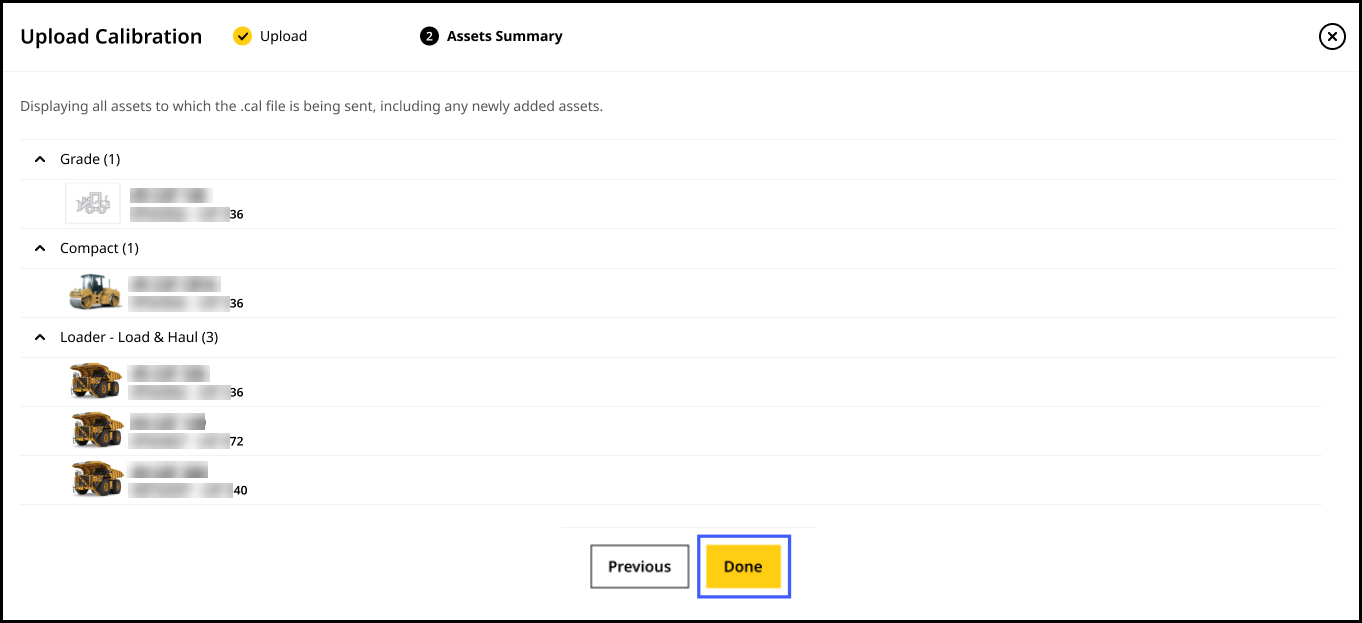
Once the process completes successfully, click Next to view the Asset Summary, where you’ll see all assets that will receive the updated calibration file. Click Done.
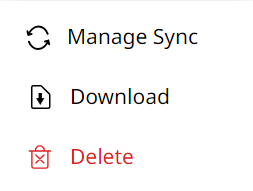
Manage Sync
• You can only manage file syncing for the following file types:
° .cal (calibration file)
° .dc (calibration file)
° .dsz (design file)
° .vcl (design file)
° .xml (landXML design file)
° .ggf (geoid file)
° .sgf (shift grid file)
° .dat (snake grid file)
° .dgf (GPS Pathfinders Office-geoid datum grid file)
° CoordSystemDatabase.xml (Cat Grade/Trimble Earthworks Coordinate System Database file)
• This option is only applicable for assets with the following:
° EC520 grade control devices.
° (Contact your dealer for assistance with the subscription settings below.)
Current Plan as New VisionLink on Dealer Services Portal  with either of the following subscription settings:
▪ Base Plan as Performance - 10 minutes with Optional Plan as Grade Connectivity.
▪ Base Plan as PerformancePro with Optional Plan as 3D Productivity.
![]() Caution:
Caution:
• Once you start syncing a file with a site's assets, you won't be able to turn the syncing off.
• Once synced, geodata files deleted from VisionLink Productivity won’t be removed from the asset.
° Ensure that the uploaded CoordSystemDatabase.xml is accurate before syncing to the site’s asset(s).
° If your site has a custom geoid file, edit the CoordSystemDatabase.xml file before re-uploading and syncing to the asset(s).
When uploading a file, you can also sync them to the assets operating within that site. This helps ensure that
-
all assets are working with the correct calibration and design files,
-
you can view comparison between assets if the calibration or design file is updated,
-
the assets' onboard display visualizes the latest designs and
-
share calibration and design files without requiring USB drives to then manually upload on each asset.
In case you skipped that step, or added more assets to your site since then, you can also sync files later. You can also use this option to track the file syncing status of your asset(s).

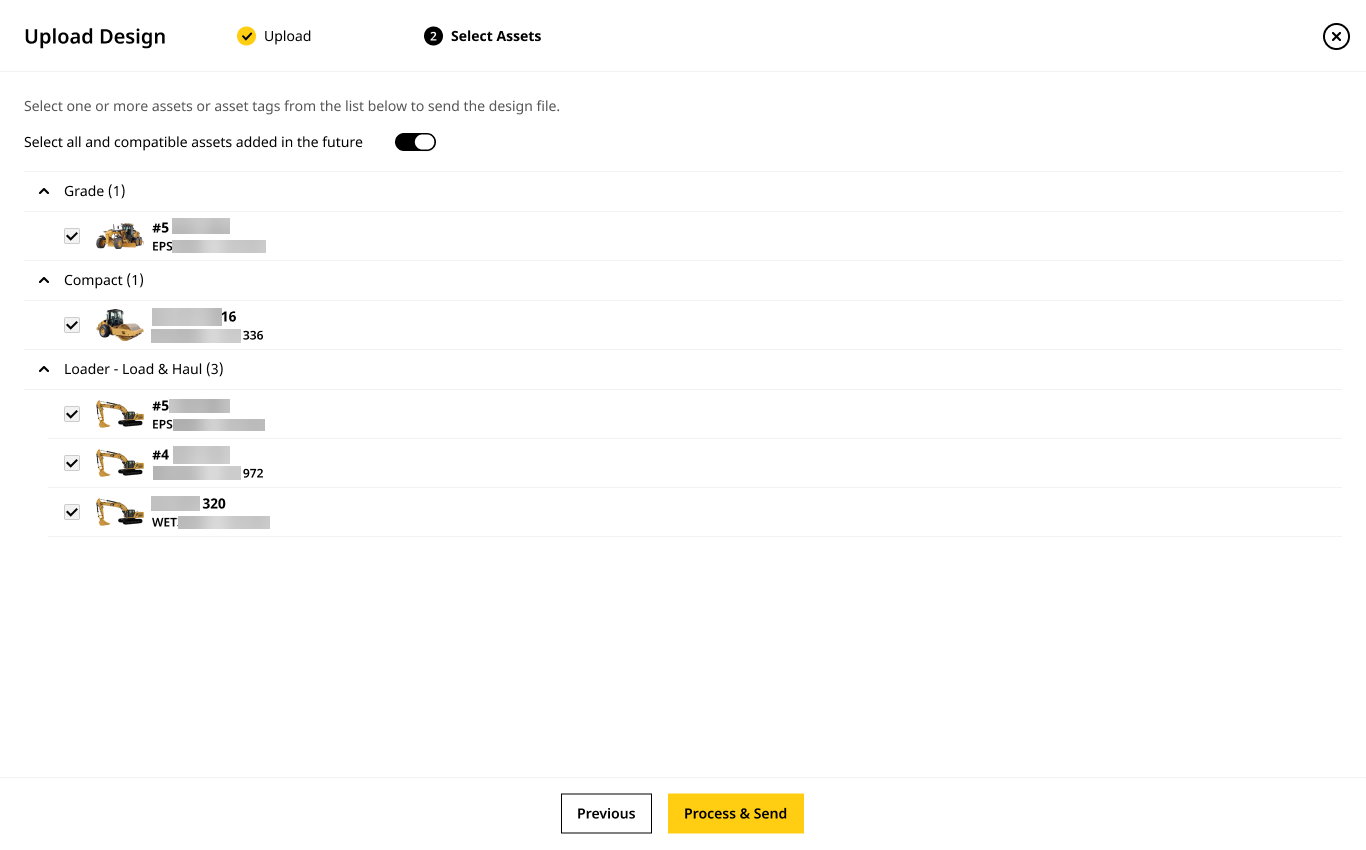
You can ensure that any future compatible assets added to your site will also have files synced to them with a click. When uploading files, on Select Asset step, click toggle on ![]() to select all assets in the list below and any more compatible assets added later.
to select all assets in the list below and any more compatible assets added later.
View ImageView Image
To manage syncing of files after uploading them:
-
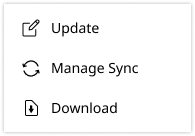
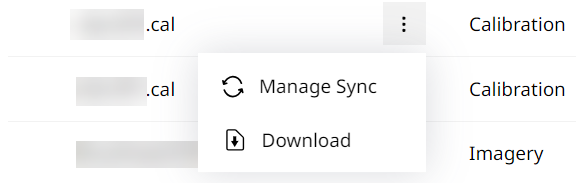
Click more options
against the file you want to manage syncing. -
Select Manage Sync.
-
On Manage Sync, there are two available tabs to choose:
-
Synced Asset : Lists all the site’s assets the file has been or being synced to. This will open by default if, while uploading files, you selected any asset for syncing.
-
You can find the Sync Status listed to know about the file syncing progress.
-
In case a file failed to sync, click Retry to restart the syncing process.
-
If the synced file has been removed locally on an asset, you can choose to resend it to either all assets or only to the specific ones you need. After making your selection, click Resend to deliver the file.
-
If the file already exists in the asset, it will be overwritten; if it’s missing, it will be synced.
The Resend option is disabled for files that have failed to sync.
• If your site has multiple assets, use the search bar to narrow down the assets of interest.
• The asset needs to be keyed on so that files can be transmitted via the asset telematics system to the grade ECM.
-
-
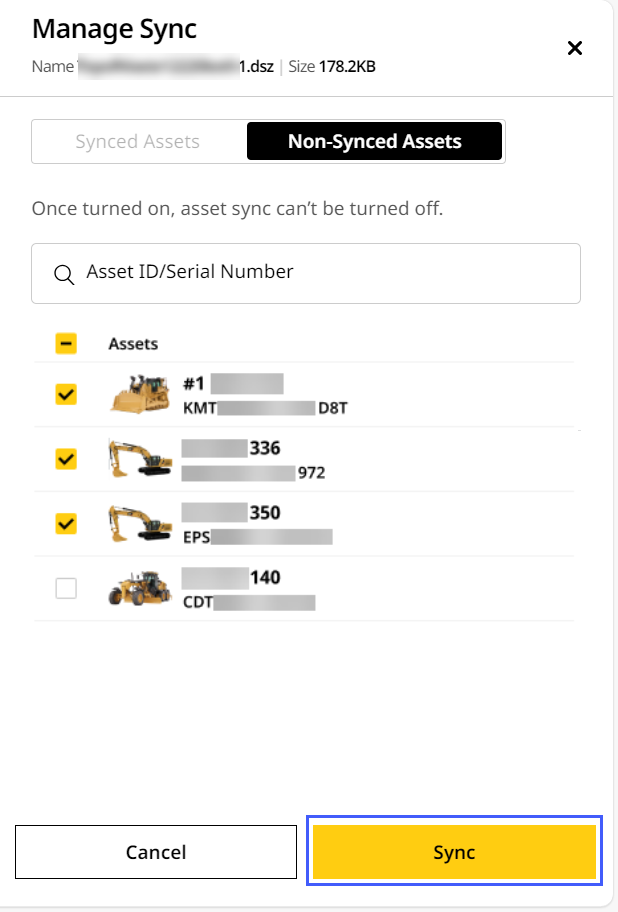
Non-synced Assets: Lists all the site’s assets that the file hasn’t been synced to. This will open by default if, while uploading files, you haven't selected any asset for syncing.
-
Check the assets you want to sync the uploaded file.
• If your site has multiple assets, use the search bar to narrow down the assets of interest.
• If you want to select all assets in one go, use the checkmark next to the column names.
View ImageView Image
-
Click Sync.
-
On Synced Assets tab, you can view the Sync Status. Syncing to assets will take some time, indicated by the Awaiting asset status.
• If you want to sync the file to more assets within that site, wait until the current syncing process completes.
• The files can only be synced to the respective asset(s) if the asset is keyed on and set up to handle file management. Contact your dealer to learn more.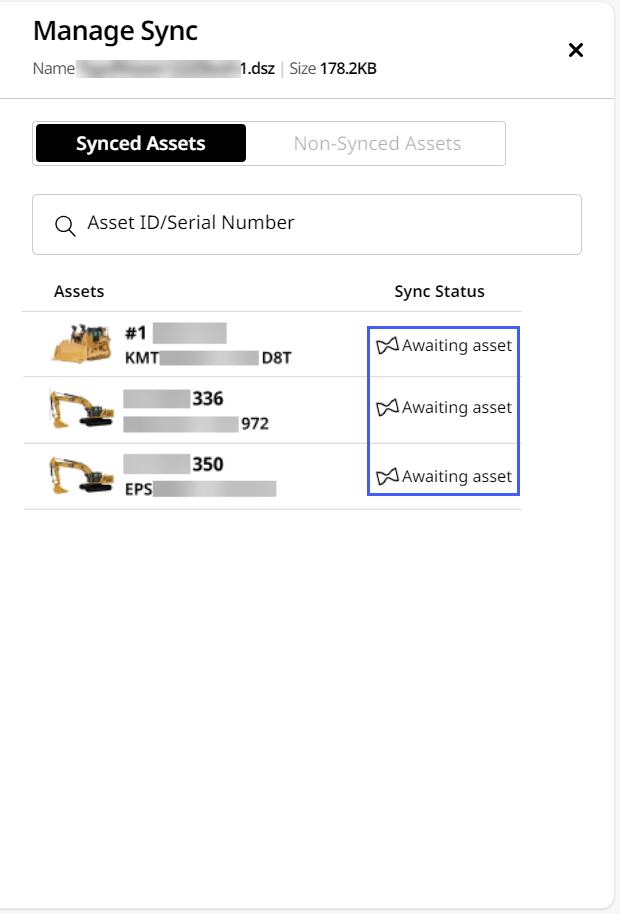
-
-
Preview File
During an avoid.svl, .dsz, .xml file upload, you can preview the file for 2D visualization for avoidance zones and 3D visualization of the terrain. This helps you visualize your terrain models before sending them to the asset, same as an operator would on the asset onboard display.
• You can only preview uploaded avoid.svl, .dsz and .xml files.
• All .dsz files comprise of .svd (design) and .svl (linework) files. If the .svd file is not available, file preview isn’t possible and the file cannot be processed.
Generating this preview often takes some time. So, you can also preview this file after it has been uploaded and/or synced to the site’s assets.
To preview a .dsz file:
-
Click more options
against the file you want to preview. -
Select Preview.
-
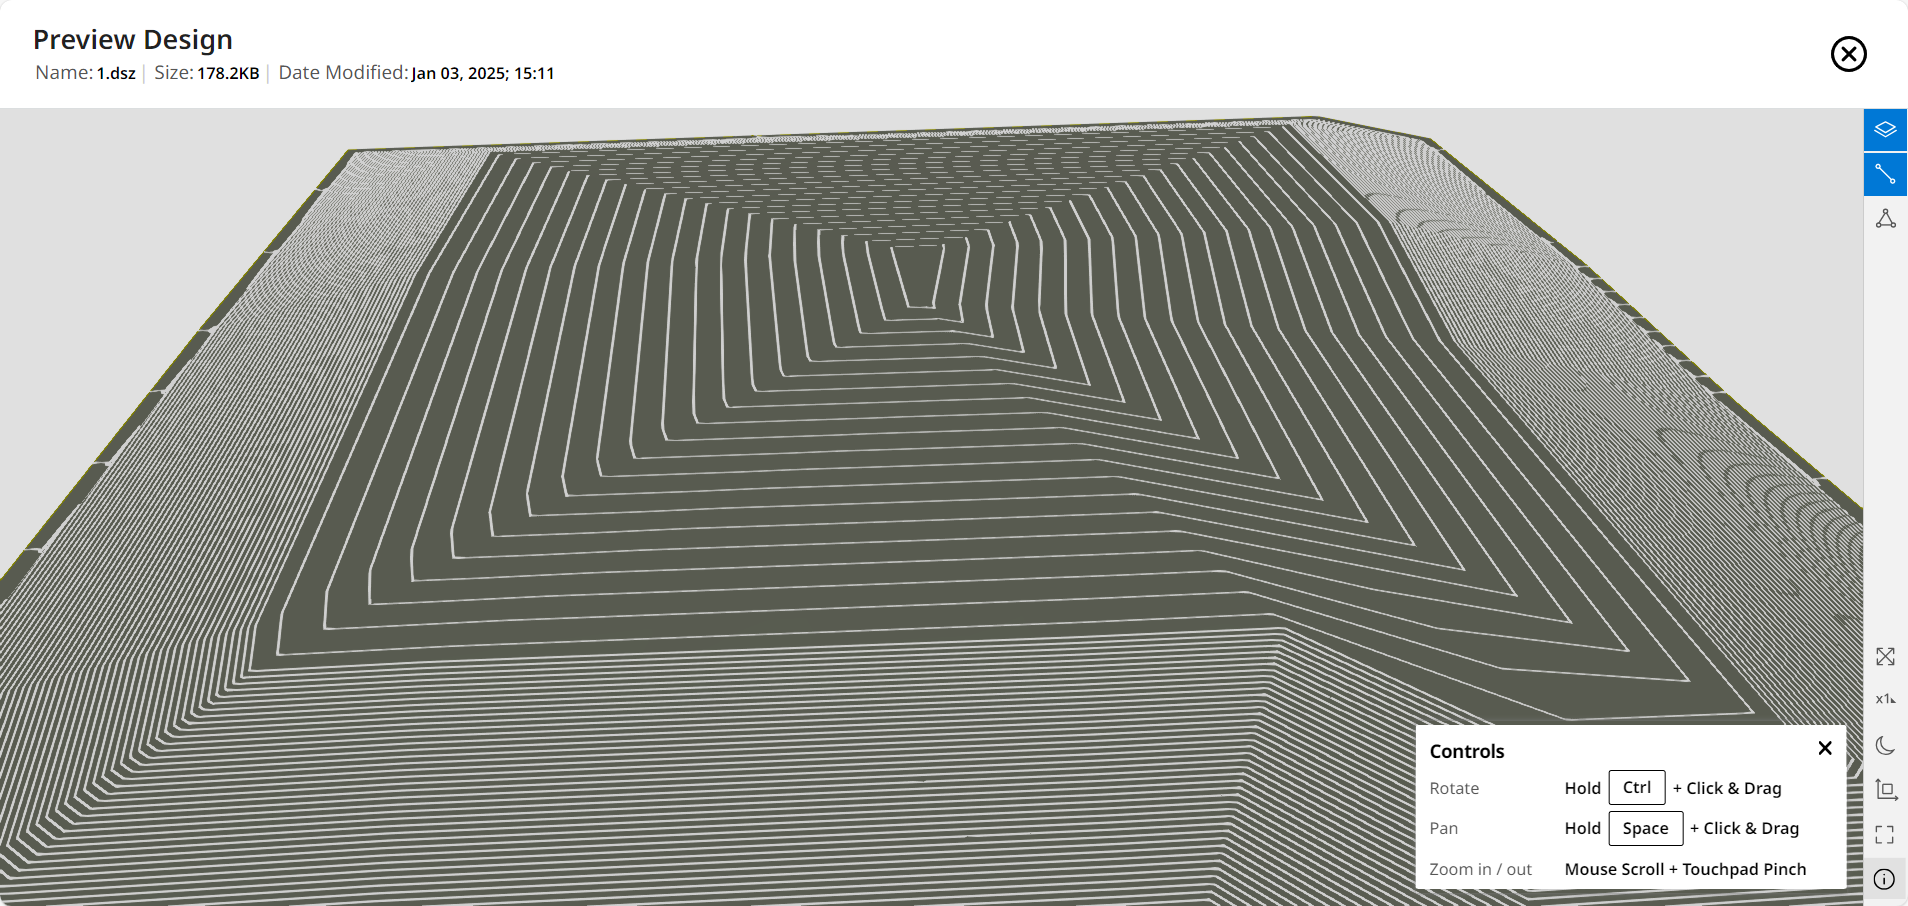
On Preview Design, you can view the 3D visualization of the design file.
-
The file Name, Size and Date Modified details also display.
-
You can also configure how the preview visualization displays with additional settings. Refer to the following table to know more:
Items
Features
Description

Surface
View surface data on the 3D model. This is based on the .svd file component of the .dsz file. This is enabled by default.

Linework
View linework details on the 3D model. This is based on the .svl file component of the .dsz file. This helps you understand base elevation and altitudinal differences of the model.
If the .svl file isn’t available or corrupted, this option won’t be available.

Triangles
View triangular polygons that make up the 3D model. This helps you distinguish different parts and aspects of the model.

Zoom out to view the entire model in the same frame. This helps if you zoom into or pan across a particular region and want to reset to a view of the whole model.

Vertical Exaggeration
Set the level of detail you want to view the model. You can go from x1 (default) to x2 to x3 times the detail. This helps you better analyze the model.
If you switch to a 2D view of the model, this option won’t be available.
 /
/ 
Light Mode/Dark Mode
Switch between light mode and dark mode.
 /
/ 
2D View/3D View
Switch between 2D and 3D view (shown by default). This helps you analyze different aspects of the model with ease.
If you switch to a 2D view of the model, you won’t be able to set the vertical exaggeration.

Expand the 3D model to take over the entire screen.

Viewport Controls
Get a quick refresher on the following controls needed to navigate the 3D model:
• To rotate the model, hold Ctrl + click and drag the mouse/trackpad.
• To pan across the model, hold Space + click and drag the mouse/trackpad.
• To zoom in/out of the model, scroll the mouse wheel or pinch the trackpad.
-
To exit Preview File, click close
.
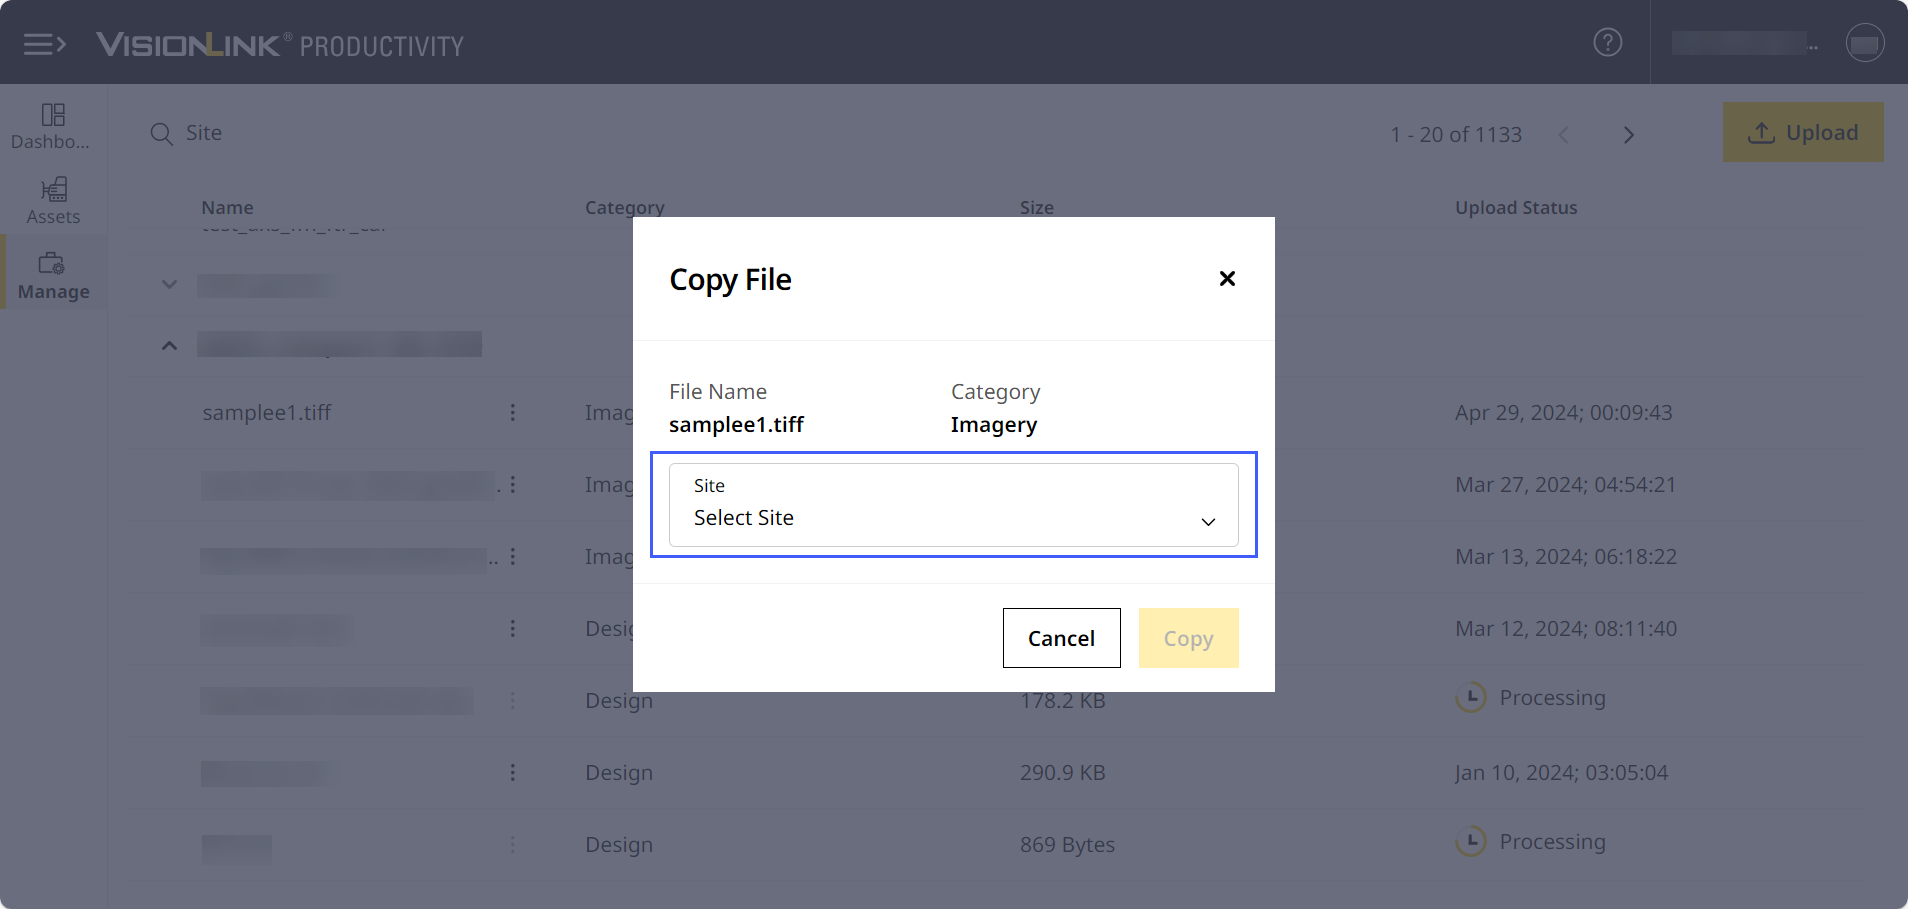
Copy File
You can only copy site images (.tiff) that have been processed and added to an existing site.
To copy a file to another site within your account:
-
Click more options
against the file you want to copy. -
Select Copy.
-
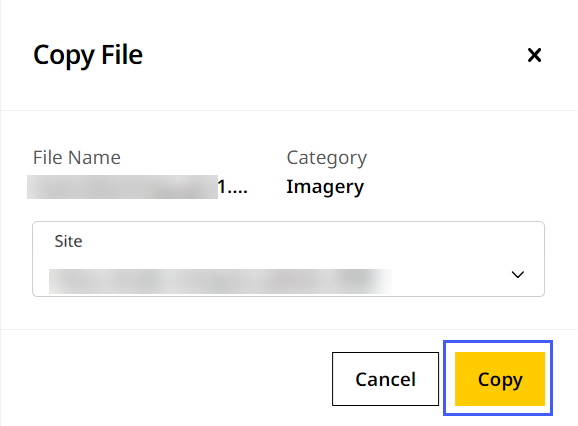
On Copy File, under Site, select the site you want the file copied to.
-
Click Copy.
• To copy a file, it needs to be processed and added to an existing site.
• Copying a file to another site will replace any existing file if the two files have the same file name.
Download File
To download a file:
-
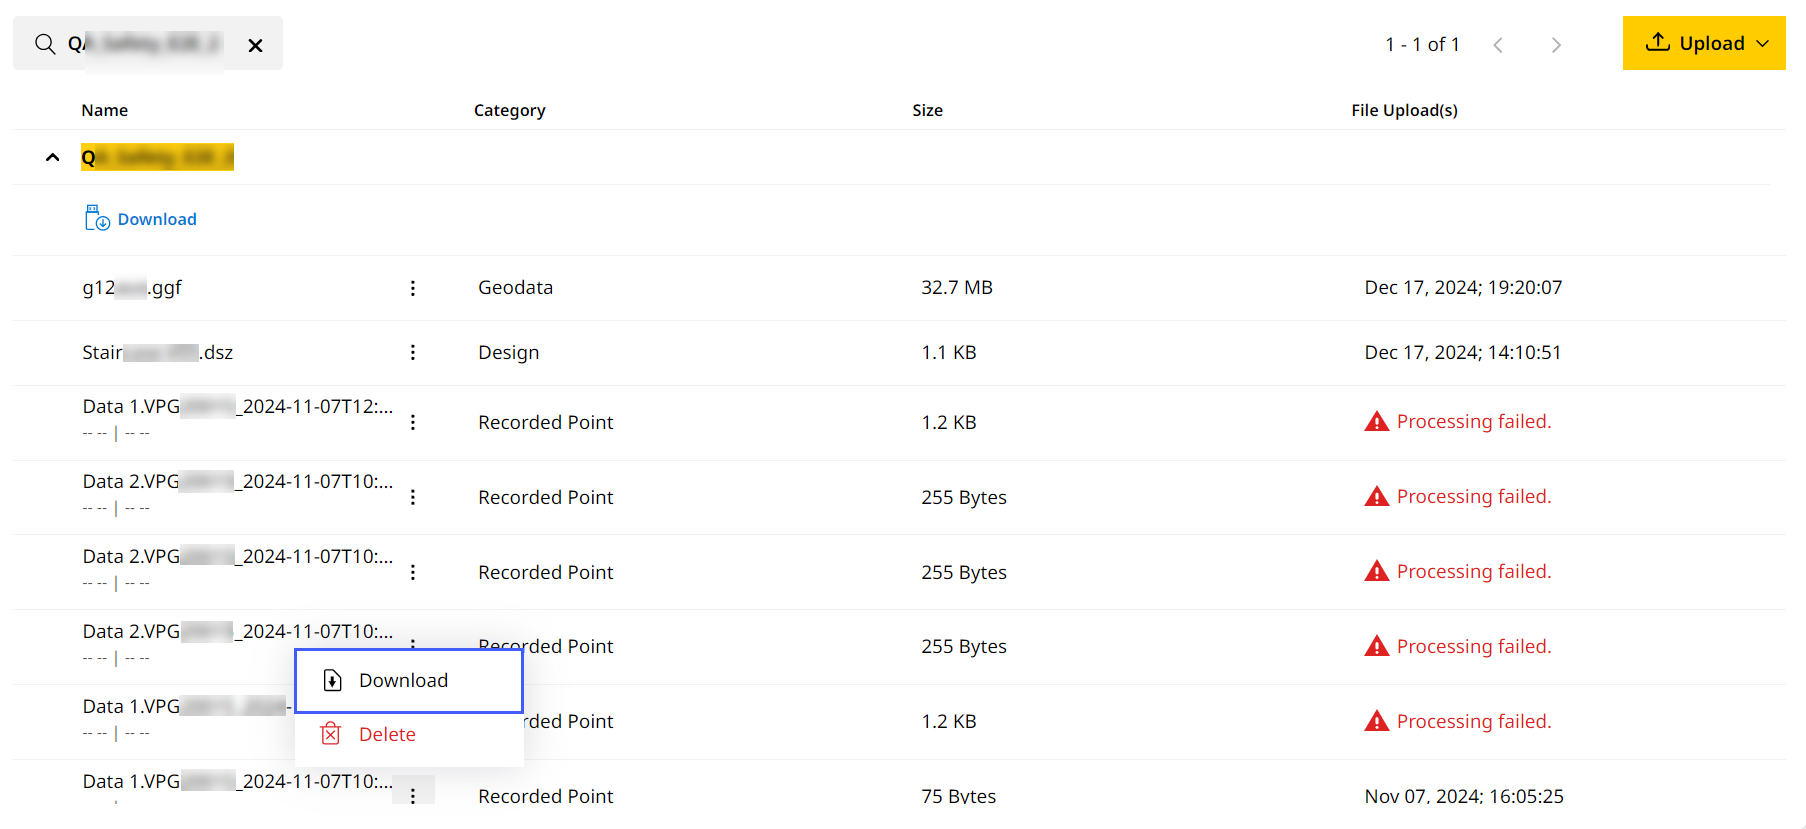
Click more options
against the file you want to download. -
Select Download.
-
Once the download completes, the file is saved on your device.
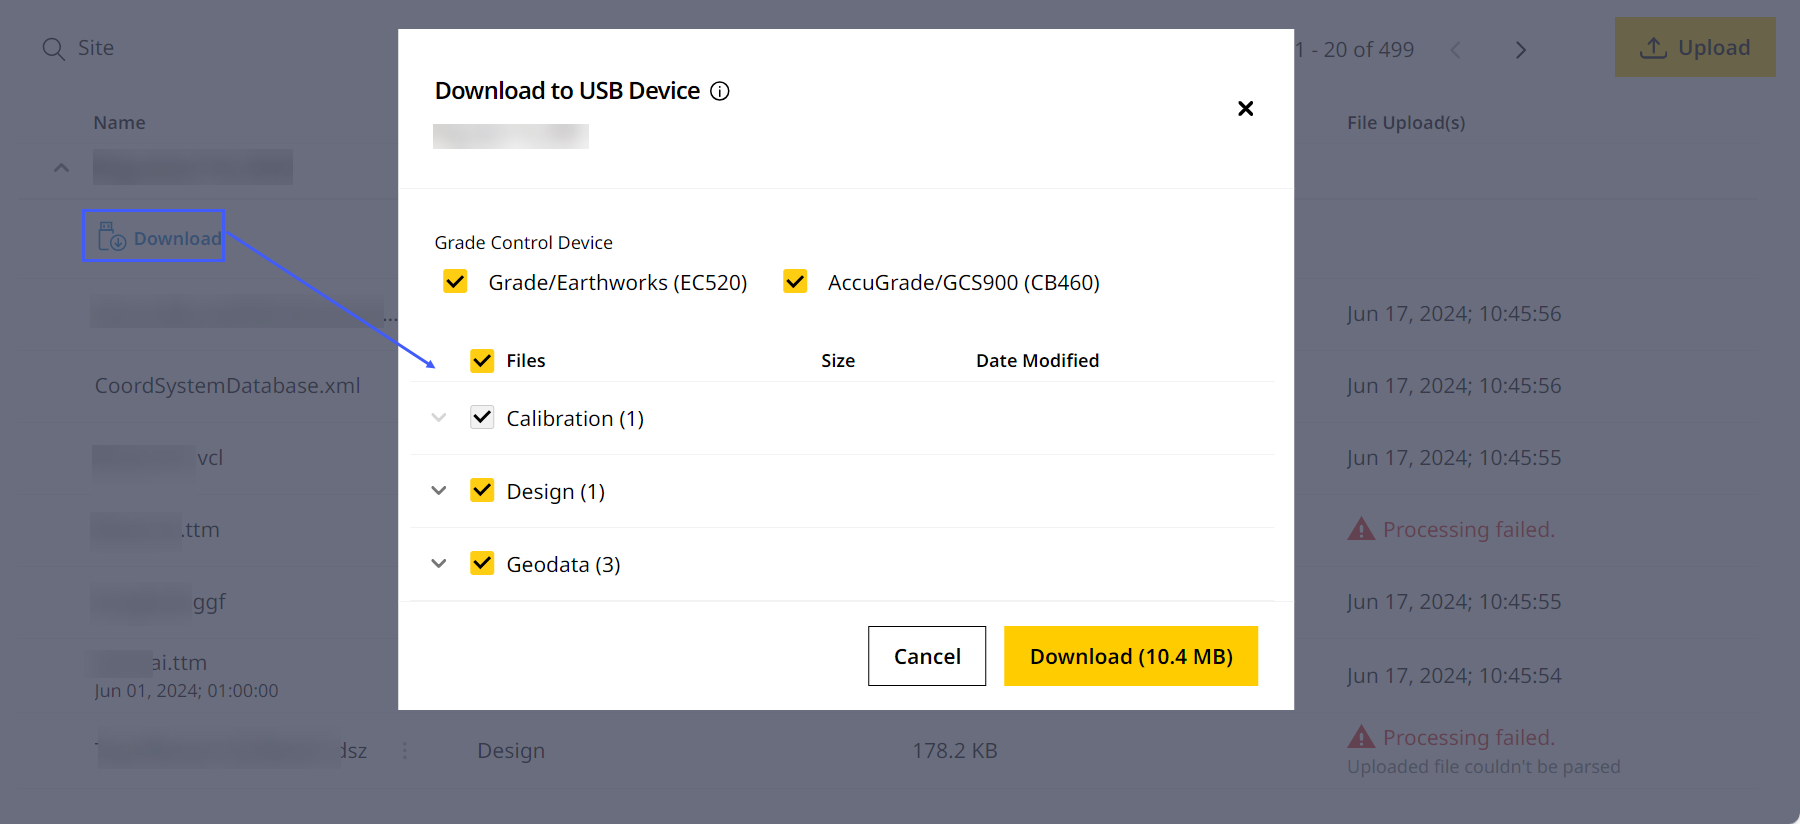
• You can also download files that can be added to a USB device. These files can then be uploaded via the USB device to the asset directly. Refer to Download Files to USB Device to know more.
View ImageView Image
• Recorded point (.pnt) files are automatically sent from the asset once recorded to the application. From here, you can download them for further analysis or sharing.
View ImageView Image
Delete File
To delete a file:
-
Click more options
against the file to be deleted. -
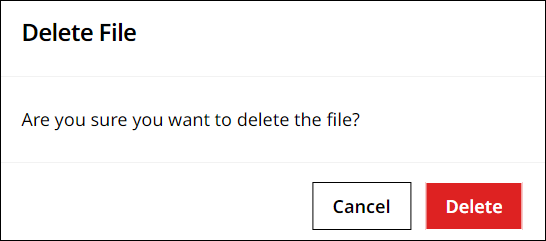
Select Delete.
-
Click Delete once more to remove the file.
As an Admin or Standard User, when deleting any uploaded files, keep the following points in mind:
• If a site has multiple survey files, you must delete the latest (by date and time the survey took place) file before you can delete older survey files.
• While deletion is in progress, you cannot upload any new survey file or delete another uploaded survey file.
• If you’re uploading a survey file, you can only delete another file after the upload is complete.
View ImageView Image
• You may be deleting a geodata file that’s already been synced to a site’s asset(s). If so, the file will be removed offboard (on the application) but will remain onboard [on the asset(s)].
• If you’re deleting design files synced to a site’s assets, the files will be removed offboard and onboard.
• You cannot delete a calibration file, once uploaded offboard (to the site on the application).
View ImageView Image
• Deleting a .pnt (recorded points) file synced from an asset will remove it from the application but not from the asset itself. You can either delete it from the asset directly or do so through Grade Control Systems.