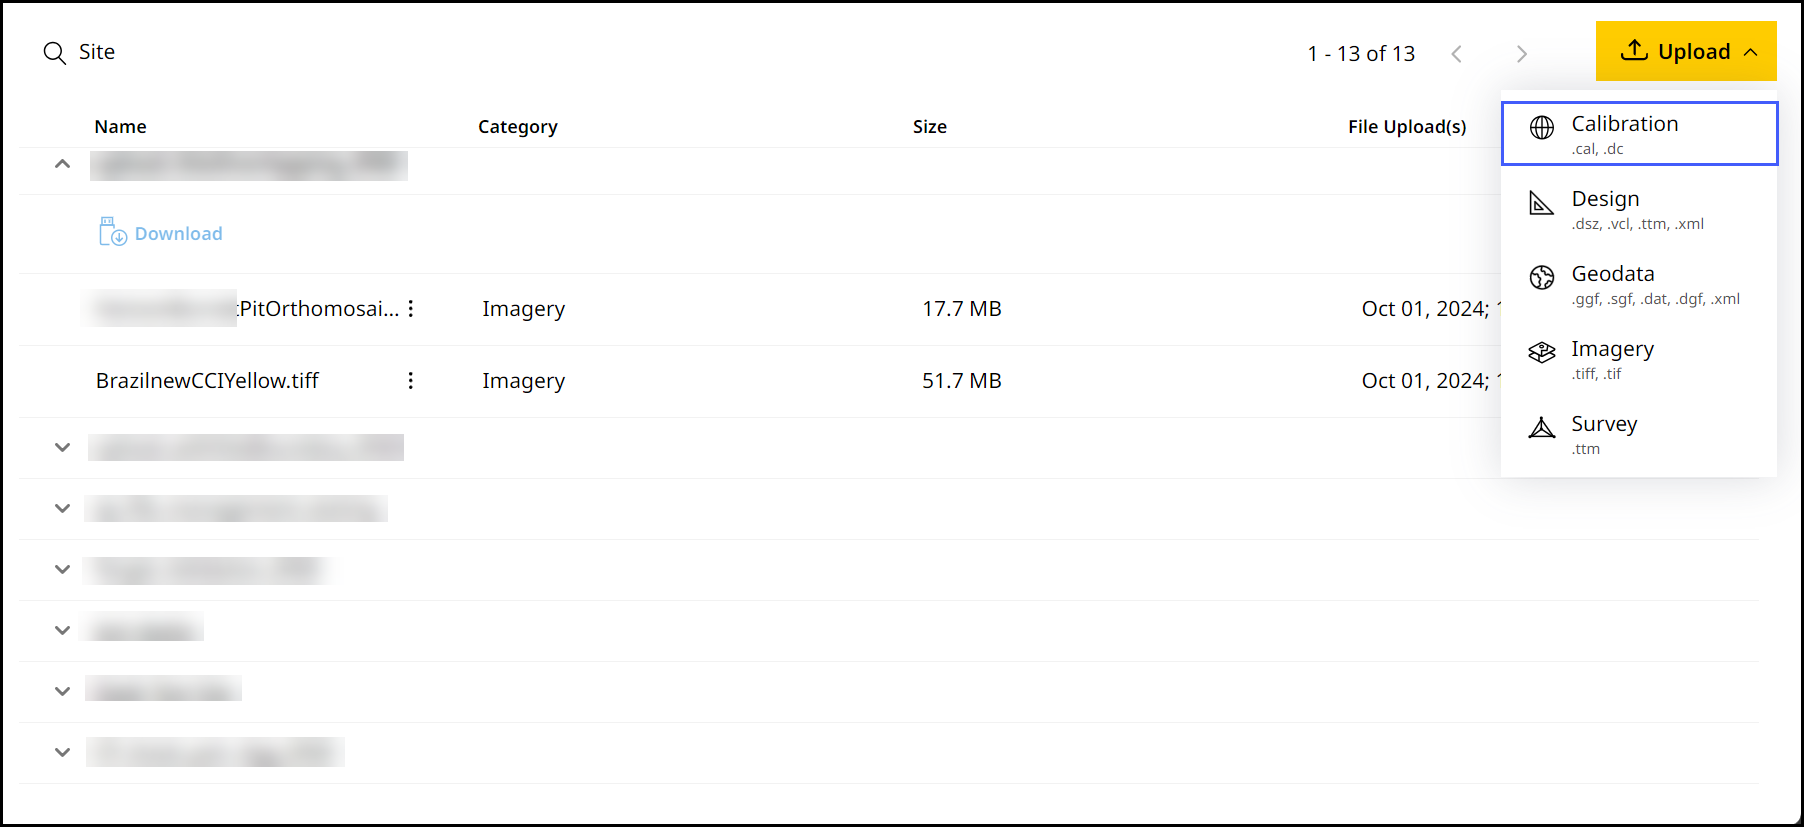
Create or Modify Site Boundary to Upload Calibration File
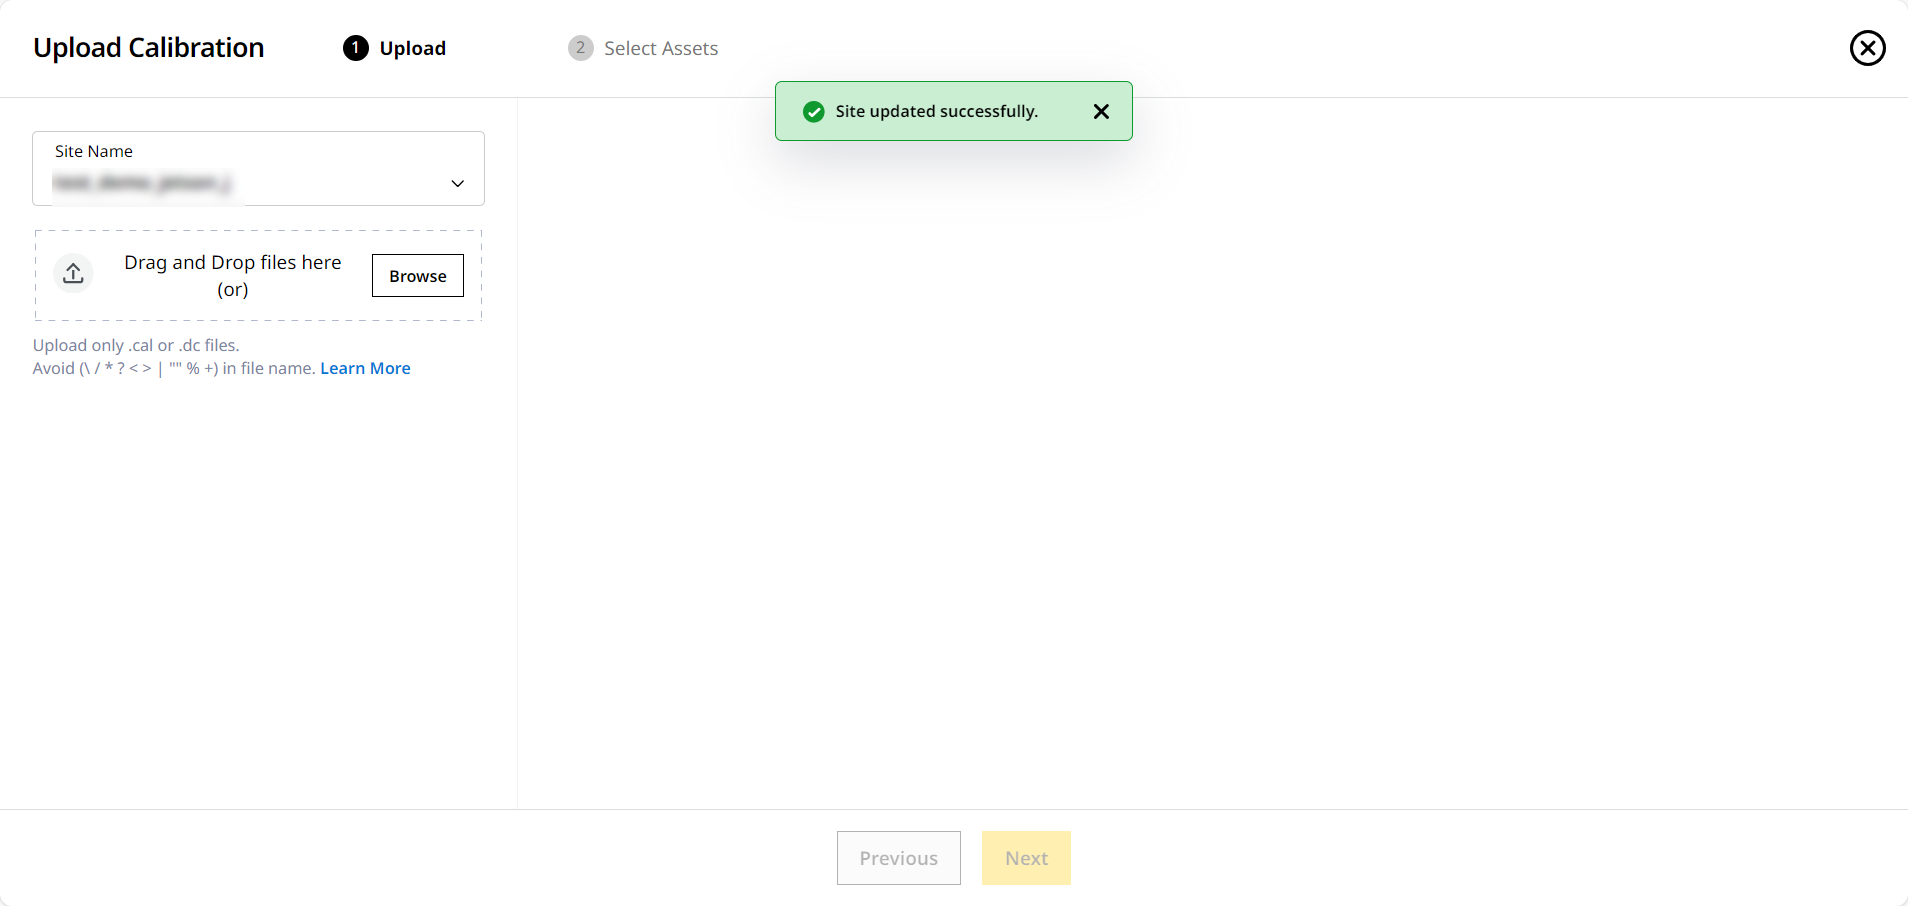
A calibration file displays the location of grade and compact assets. To upload a calibration file, a site should have an existing site boundary present. If this isn't the case, the following are solutions to fix the issue as to upload calibration files:
Creating a New Site Boundary
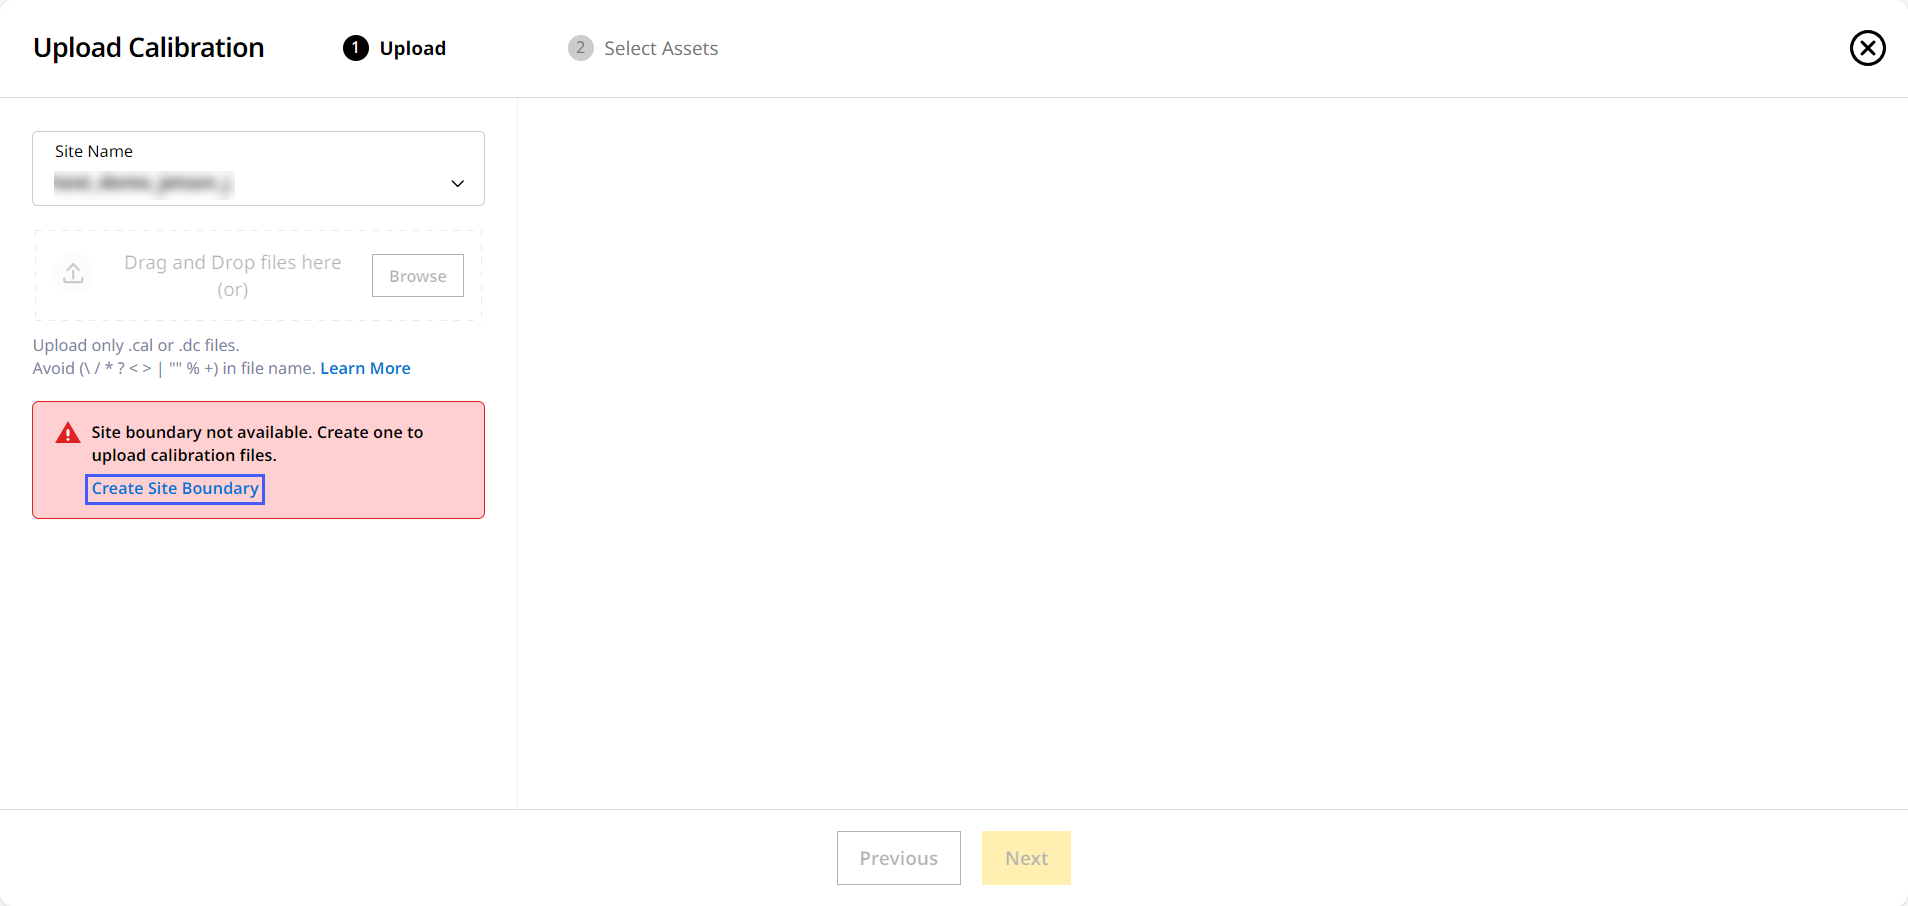
If your site has no site boundary present, a new one needs to be created. To create a new site boundary:
-
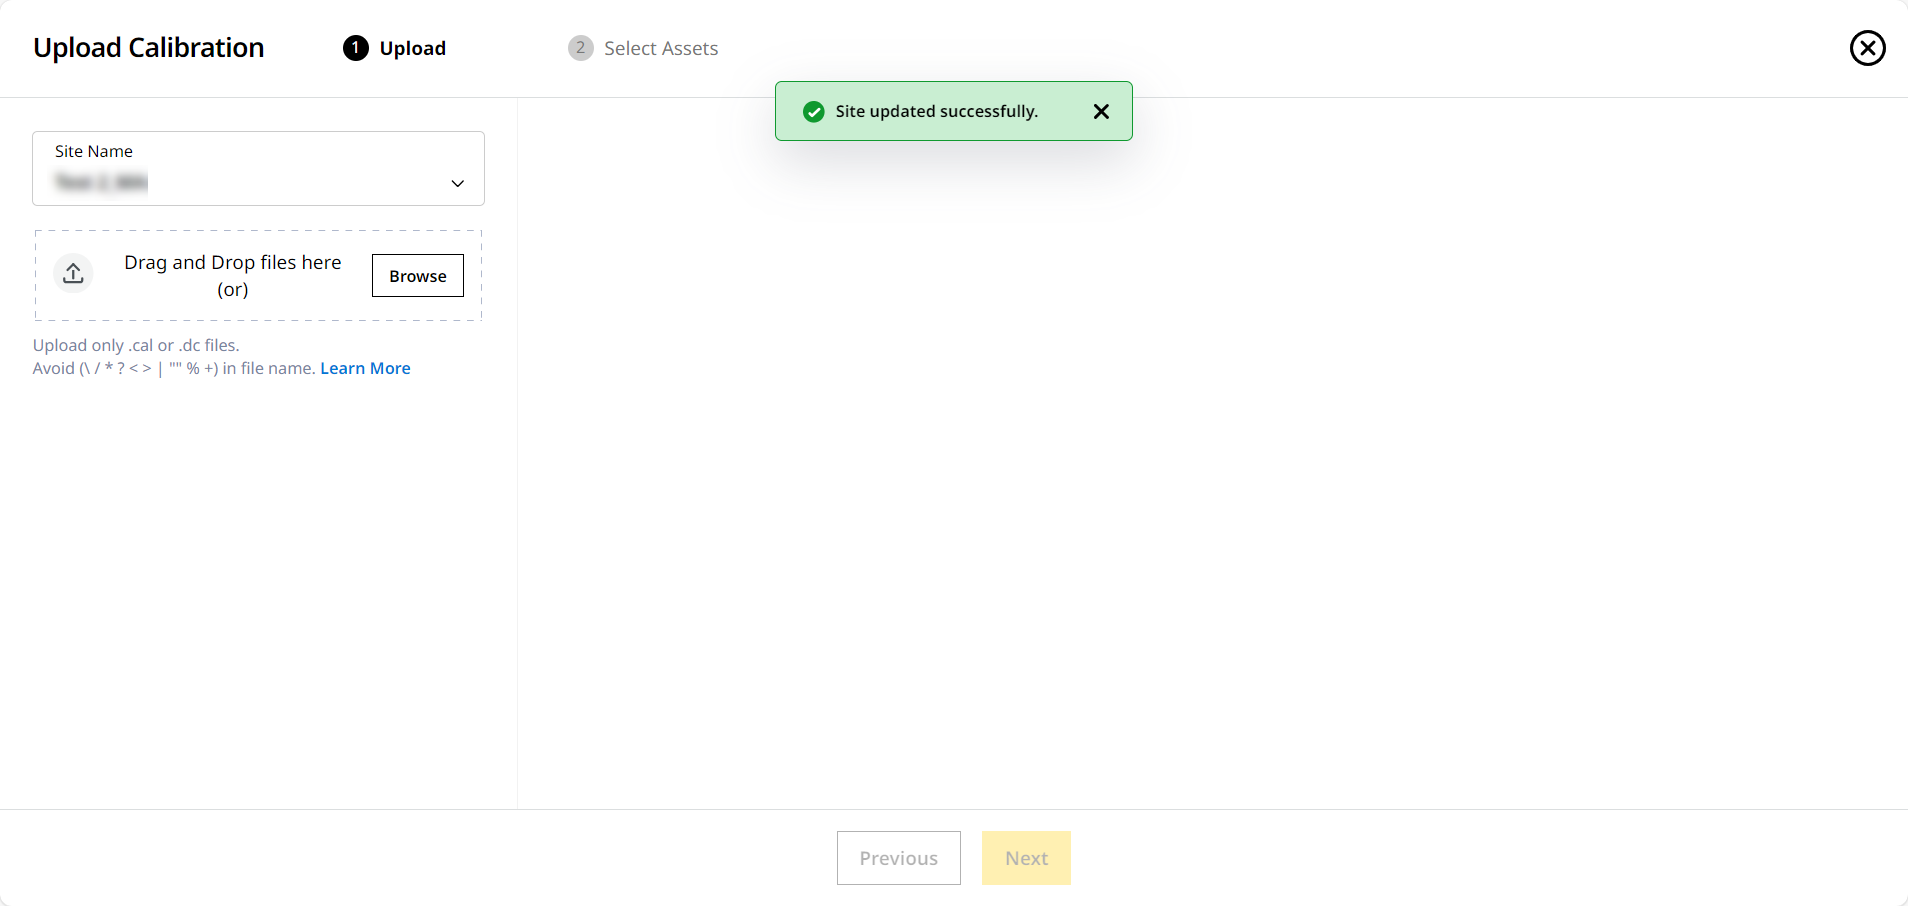
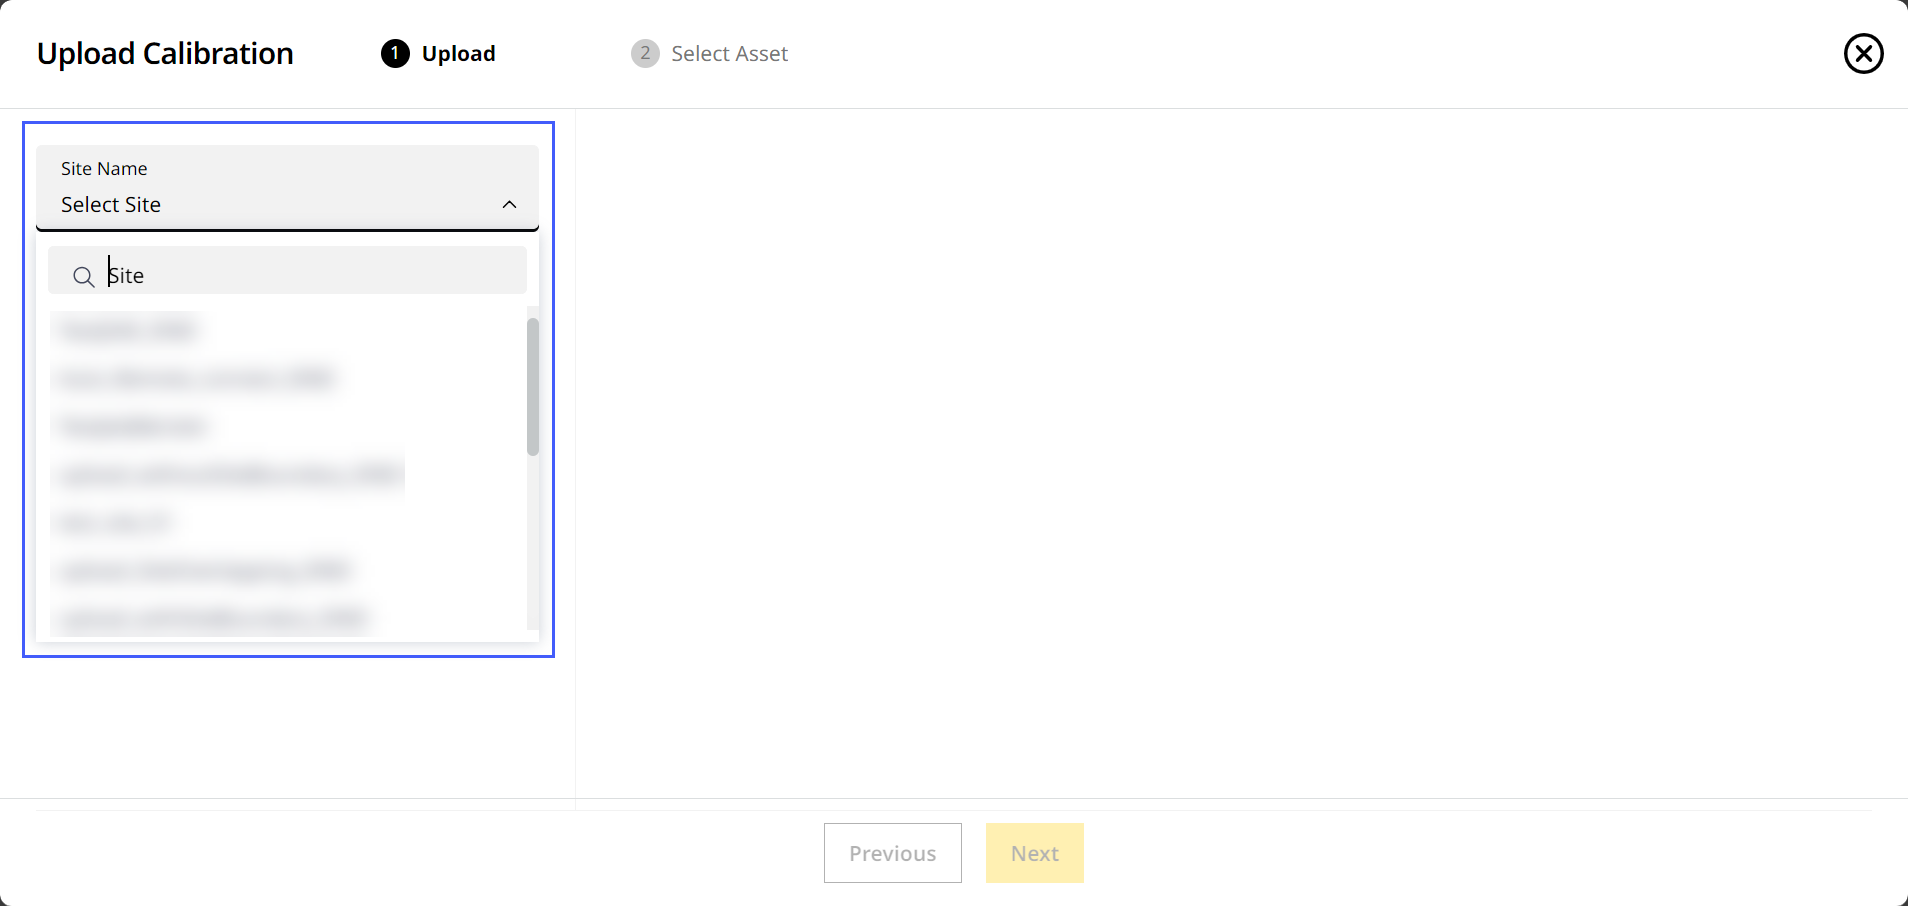
Select the desired site from the Site Name drop down.
-
Click Create Site Boundary.
-
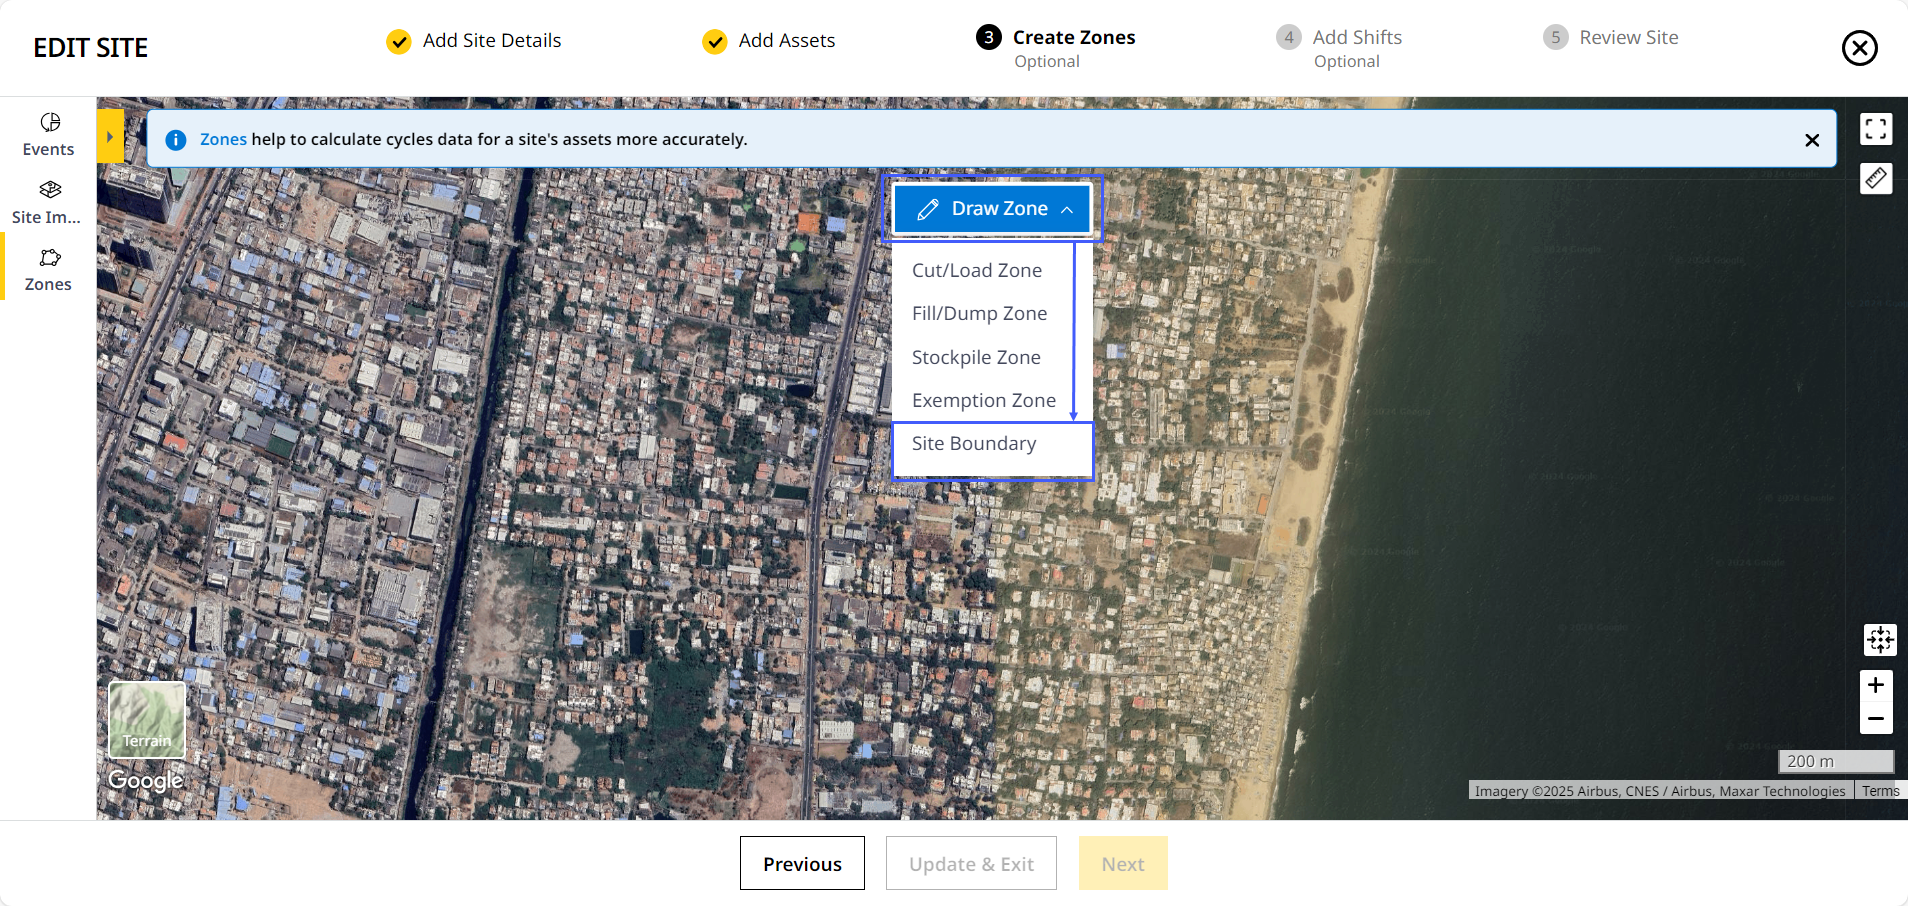
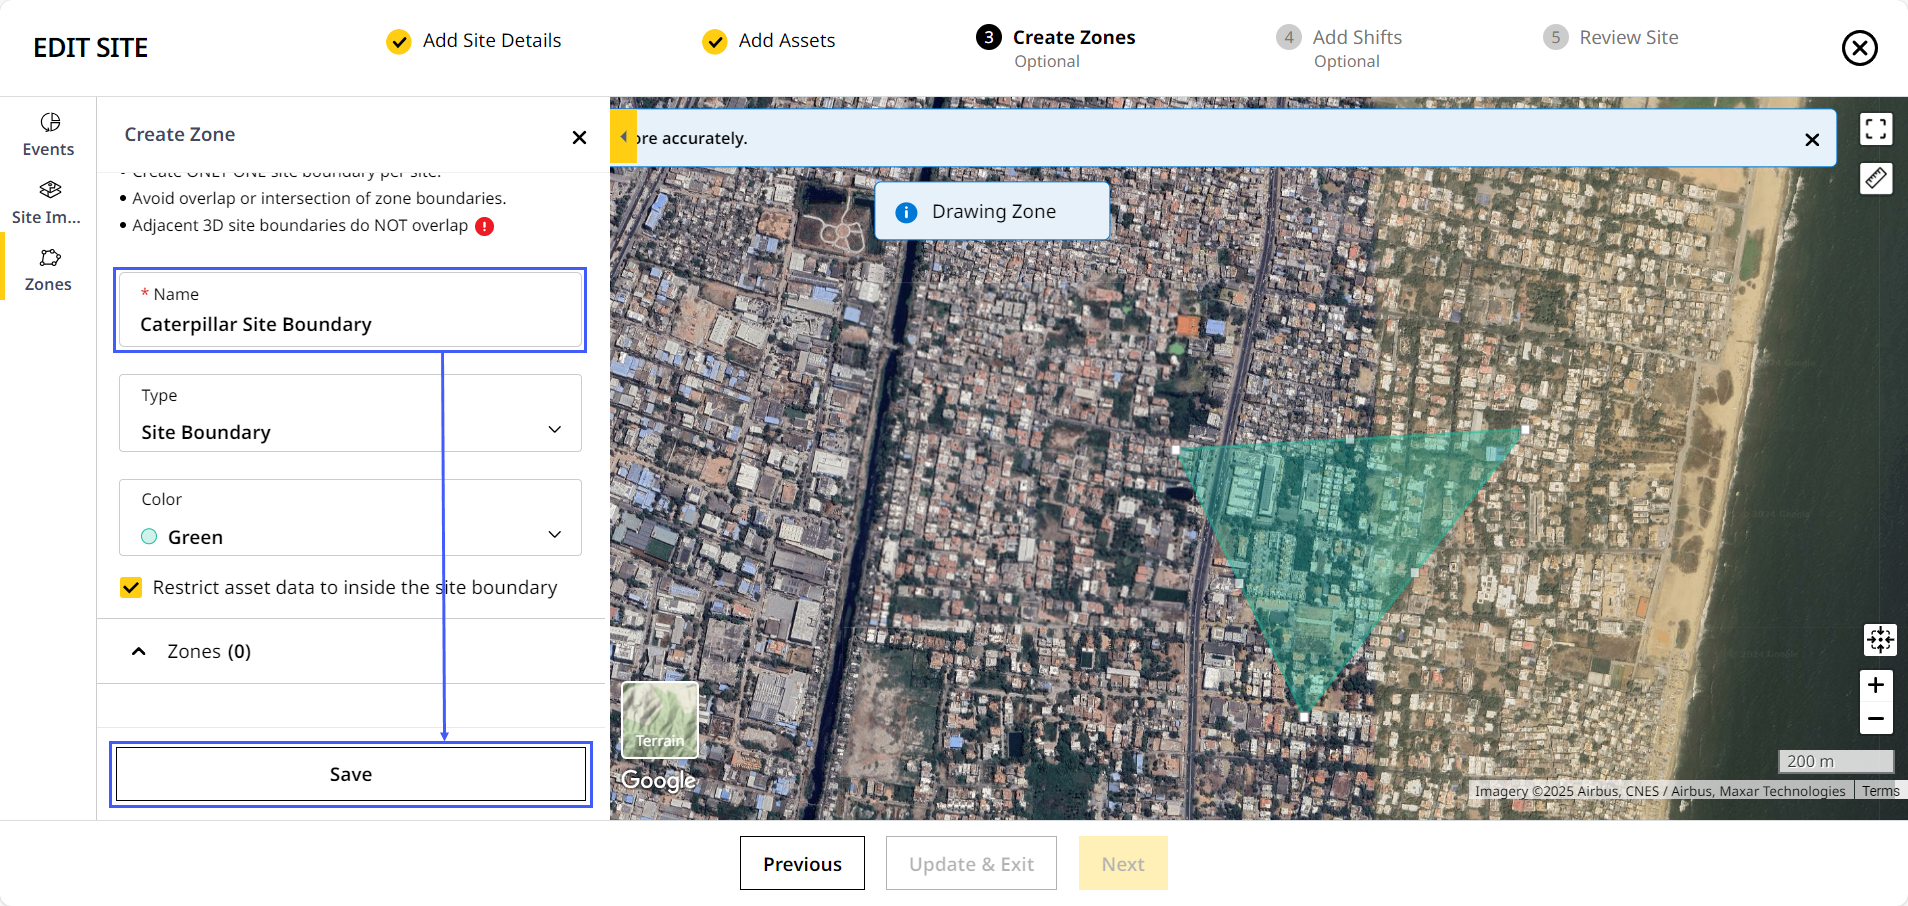
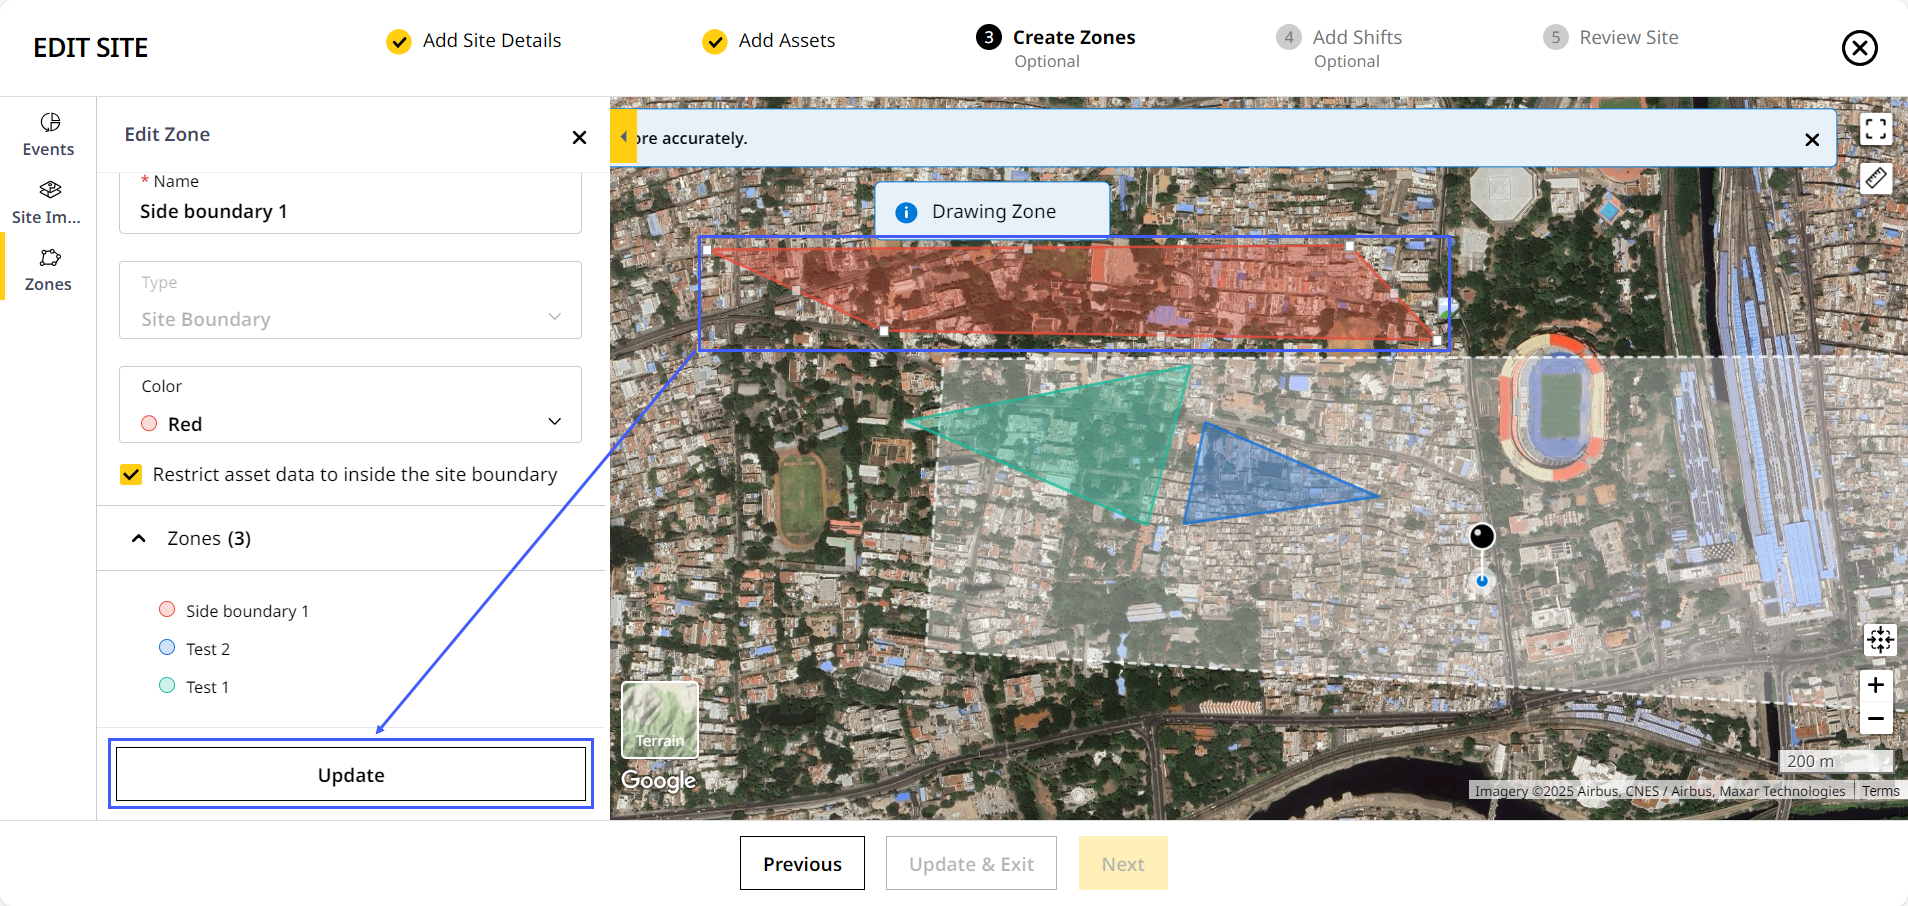
This displays Edit Site > Create Zones.
-
Click Draw Zone > select Site Boundary.
-
Draw the zone by clicking points around the required site area. Click at the point you began from to complete drawing the site boundary.
-
Provide a unique name for the zone. Click Save.
-
Click Update & Exit.

-
You can now continue uploading a calibration file to that site.
Modifying an Existing Site Boundary
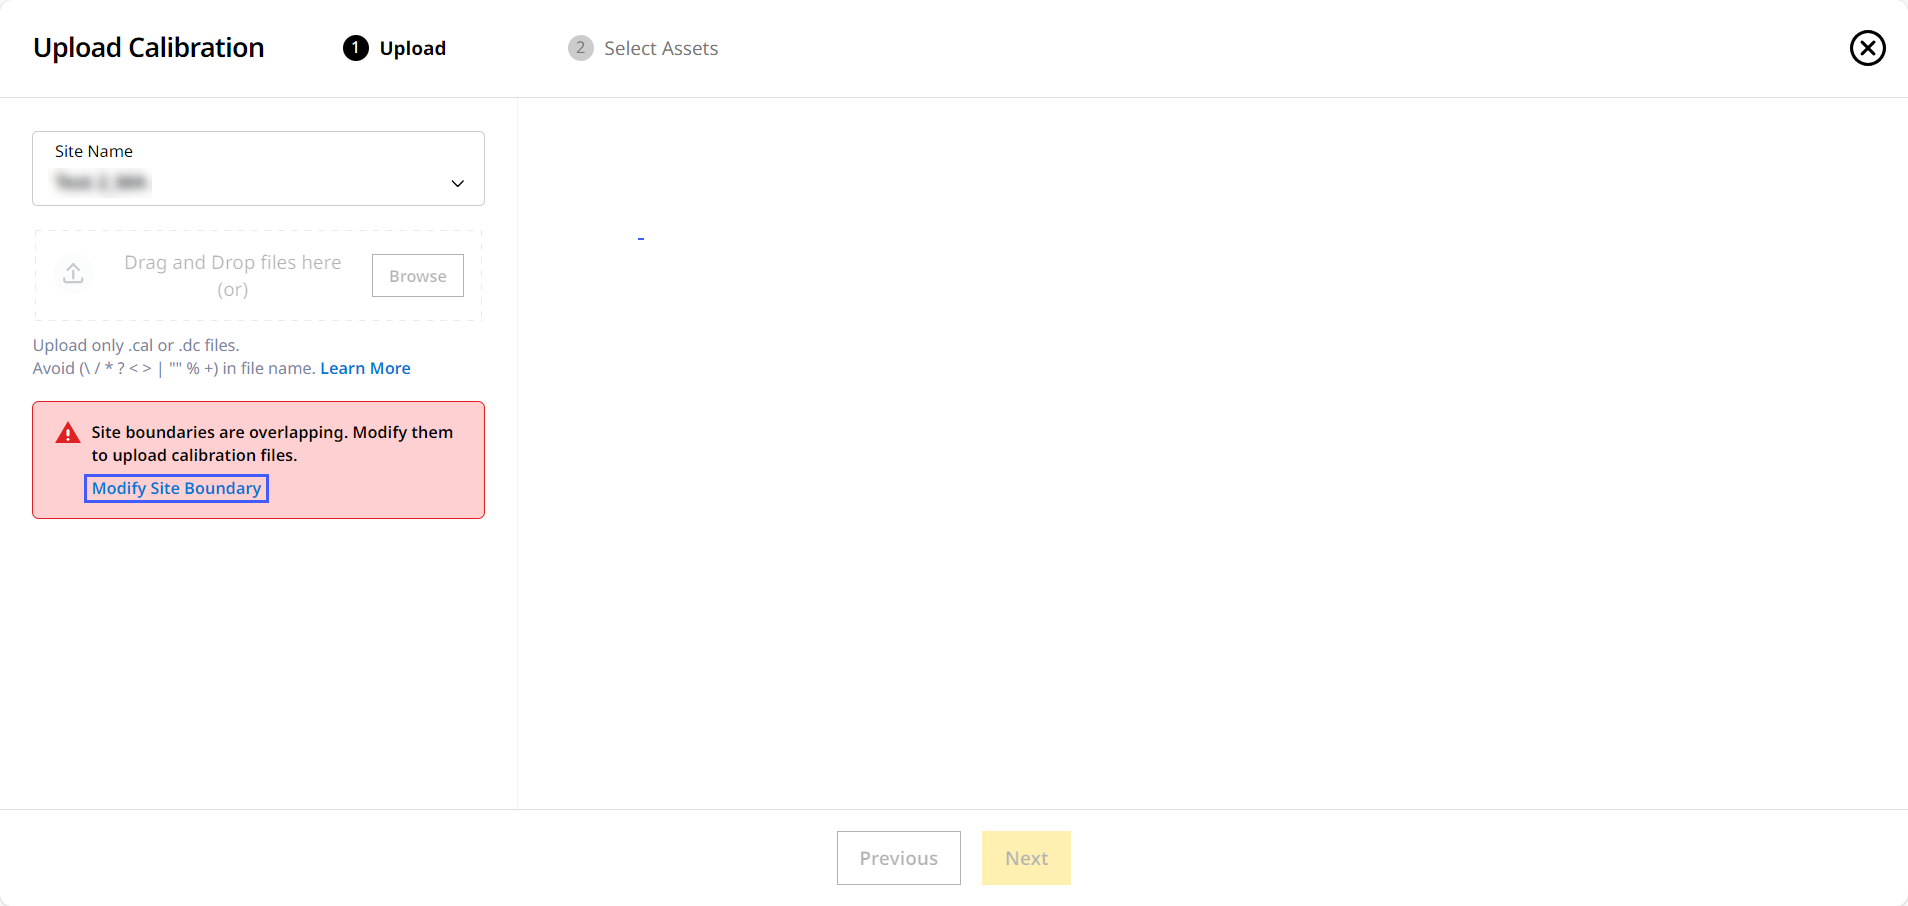
If your site has an existing but overlapping site boundary, it needs to be modified. To modify an existing site boundary:
-
Select the desired site from the Site Name drop down.
-
Click Modify Site Boundary.
-
This displays Edit Site > Create Zones.
-
Select the site boundary (in green) and correct overlap by re-drawing the zone so boundaries don't overlap.

The other overlapping site boundaries display in white to guide you with the needed correction. -
Click Update.
-
Click Update & Exit.
-
You can now continue uploading a calibration file to that site.