Schedule Report
In VisionLink Productivity, schedule reports to periodically send data and updates on your site KPIs or shift performance. Once set up, they will go out automatically at a fixed time and to all the people you specify.
This helps ensure your team and other stakeholders are regularly updated on your site progress.
Click ![]() on Reports to schedule reports.
on Reports to schedule reports.
The following infographic shows the entire process in a quick, easy-to-read, broad overview format:


All fields with * are mandatory to complete the process.
To know more and in detail, read the pointers below:
-
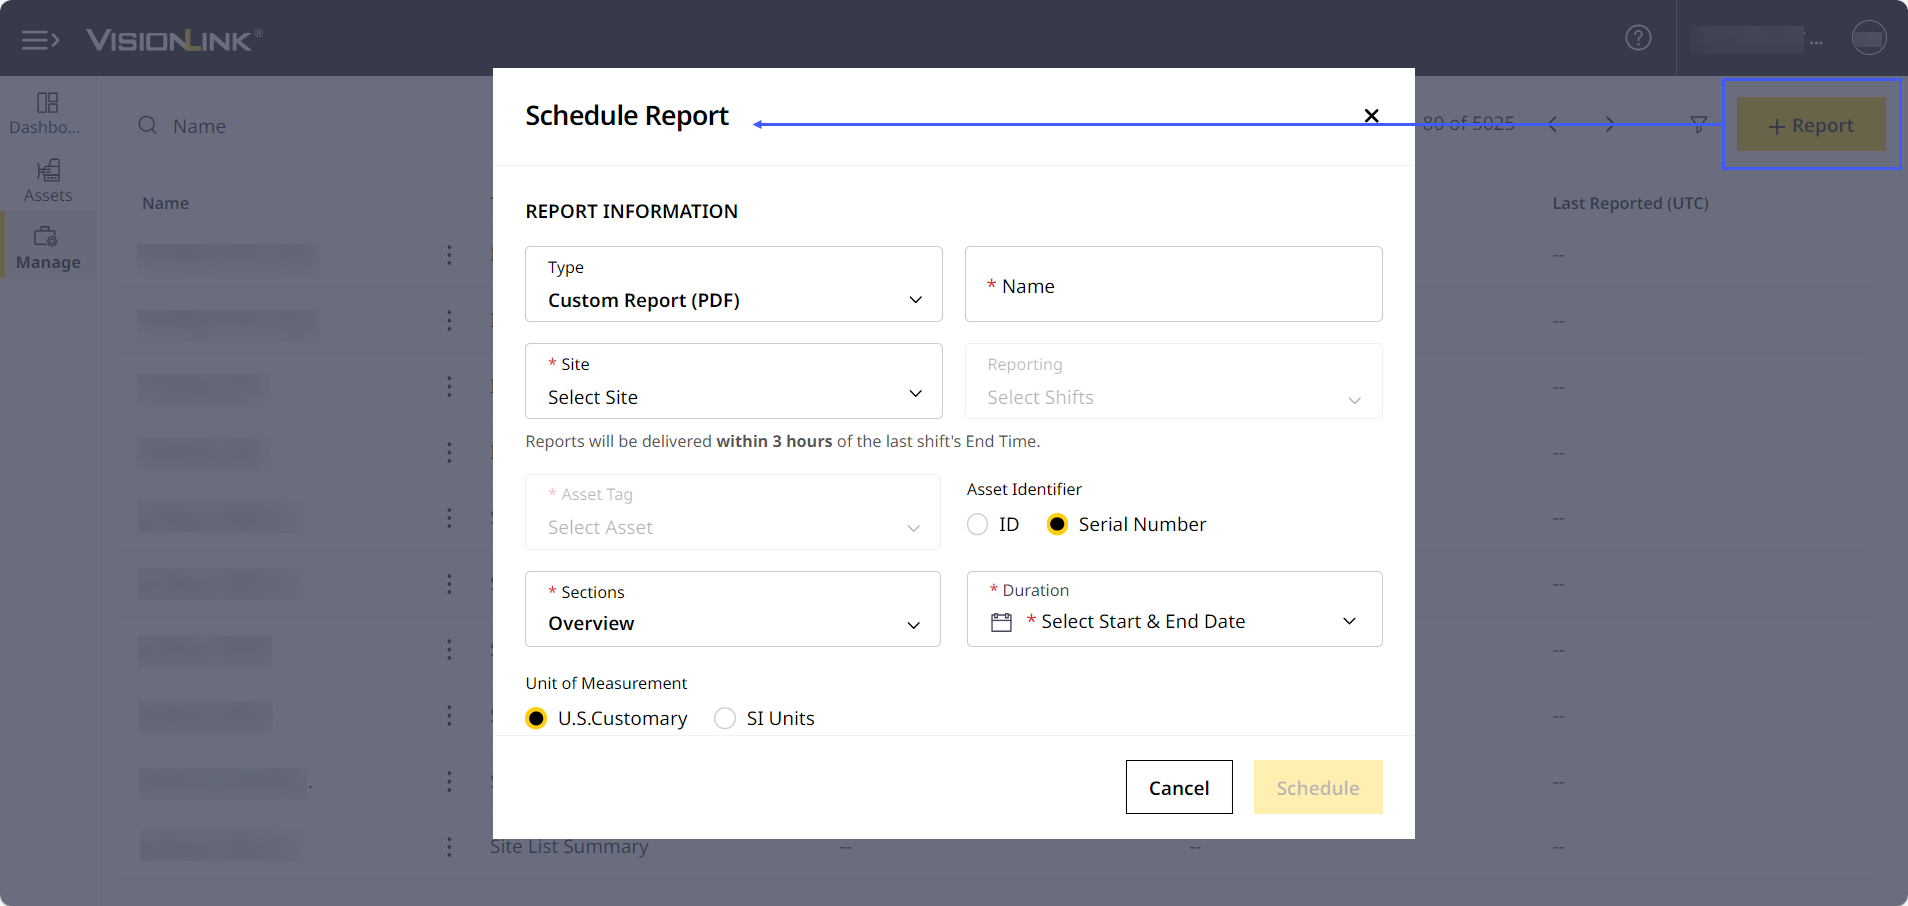
Type: Choose between the following types of reports:
• Some steps to schedule reports vary based on the report type. Click on a report above for detailed steps to schedule it.
• Subscribe to assets to generate asset report.
• Subscribe to assets, create sites and add shifts to generate the various kinds of reports.
• Scheduling new Shift Summary Reports and Runtime Reports will no longer be possible. Refer to Custom Report to know more. -
Name: Enter a report name that's unique and follows the given naming criteria.
For .xls/.xlsx reports, if the site name contains these characters: / \ ? * [ ], the report name will be renamed to “_” when downloaded or sent via mail. To rename the site, refer to Edit Site to know more. This is applicable for the following reports:
• Payload Details
• Site List Summary (XLS)
• Payload Details - Single Asset (XLS) -
Site and Reporting: Under Site, type to search or directly select the site name.
- Under Reporting, type to search or directly select shifts for Shift Comparison reports.
- For Insights Report, select between Production, Utilization and Summary to gather data.
-
Payload Details reports are available to download directly under Insights report.
All recipients will receive scheduled reports to their email inbox between two to three hours after generation.
-
Duration: Select the start and end date of the report period.
This selection is based on your timezone. However, you will also be able to receive reports from next day if the site is running ahead. -
Unit of Measurement: Select U.S. Customary or SI Units to reflect the same units across the respective reports.
-
Subject Line: Provide a subject line for the report. This subject line will be automatically prefixed with the site name when the report is sent out.
-
Notes: Enter a description to provide further details or context to the email’s recipients, if required.
-
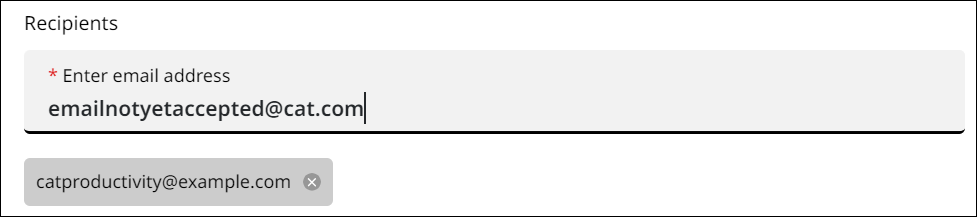
Recipients: Enter the recipient email address. Click Enter/Return key as a separator to enter multiple email addresses.
-
Tick the checkbox to get the scheduled report delivered as an attachment to your email inbox. Available only for files up to 10MB in size. Otherwise, the report is sent as a link instead of an attachment.
Leave it unchecked to get reports delivered as a download link. Caution: Files sent as an attachment are not encrypted and may not be secure as the download link.
-
Click Schedule to save and confirm your actions. Your report will then go out at the scheduled time.