Uploading Design Files
Design files enhance site monitoring and display updates over time and work. You can upload various kinds of design files.

• Design file sizes for .vcl, .dsz, .dxf and .ttm files must not exceed 100 MB.
• LandXML Design files must not exceed 50MB.
• Before uploading design files, a calibration file must be available on the site.
Uploading Design Files
To upload design files:
-
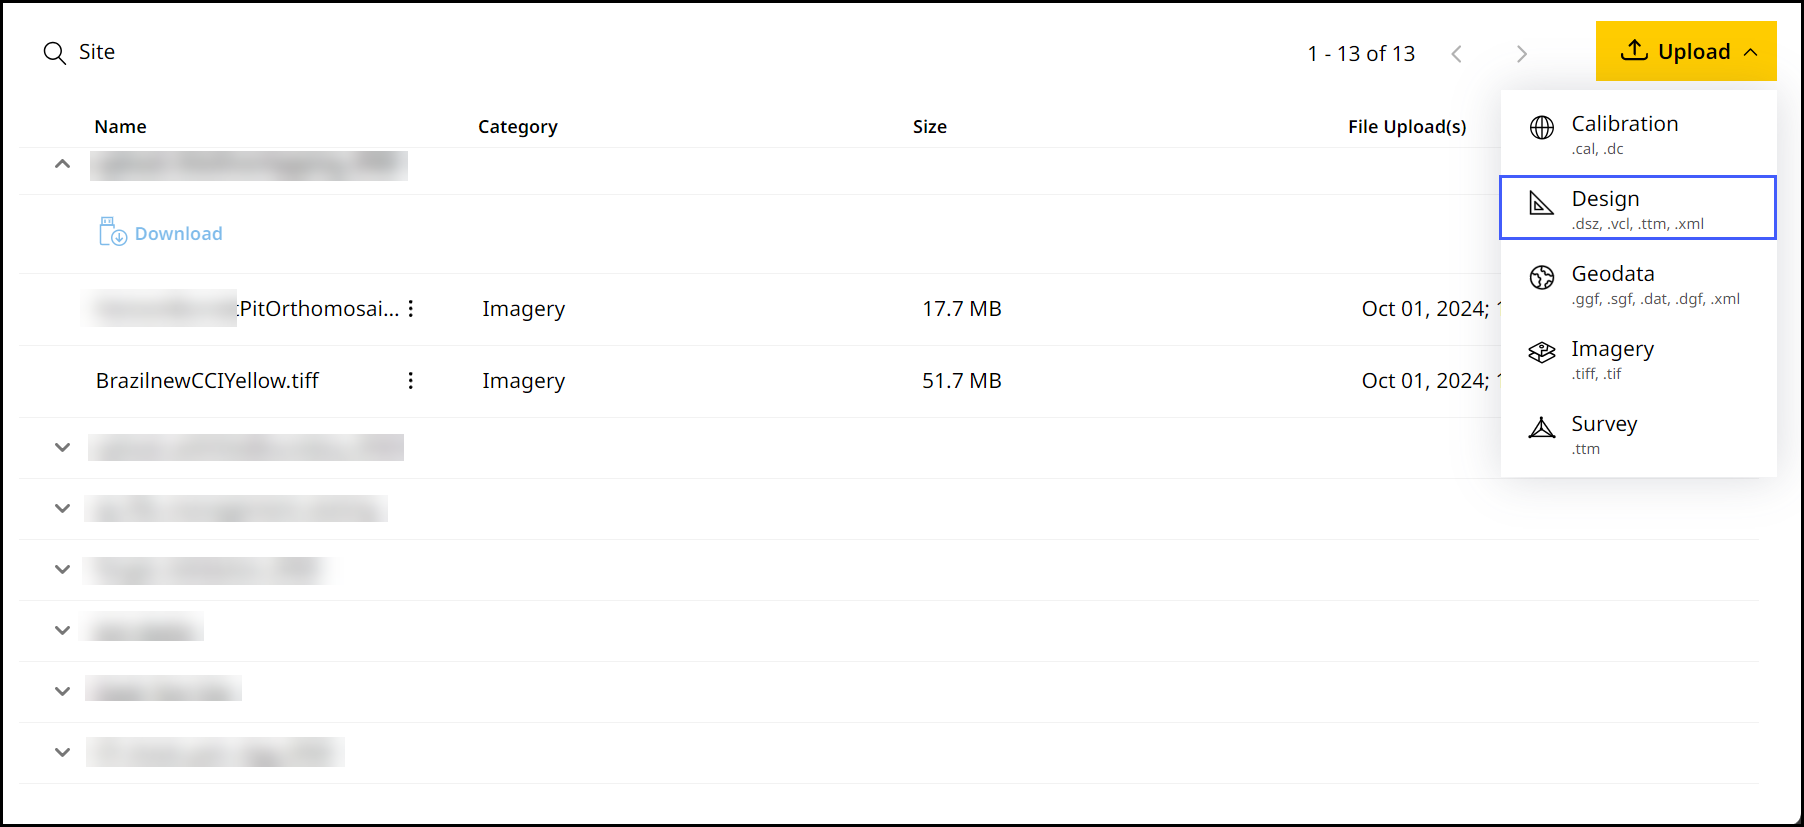
On Files, click
 > select Design.
-
Select the desired site from the Site Name drop down.

On the Site Name drop down, you can search for your desired site in case to quickly find and select them.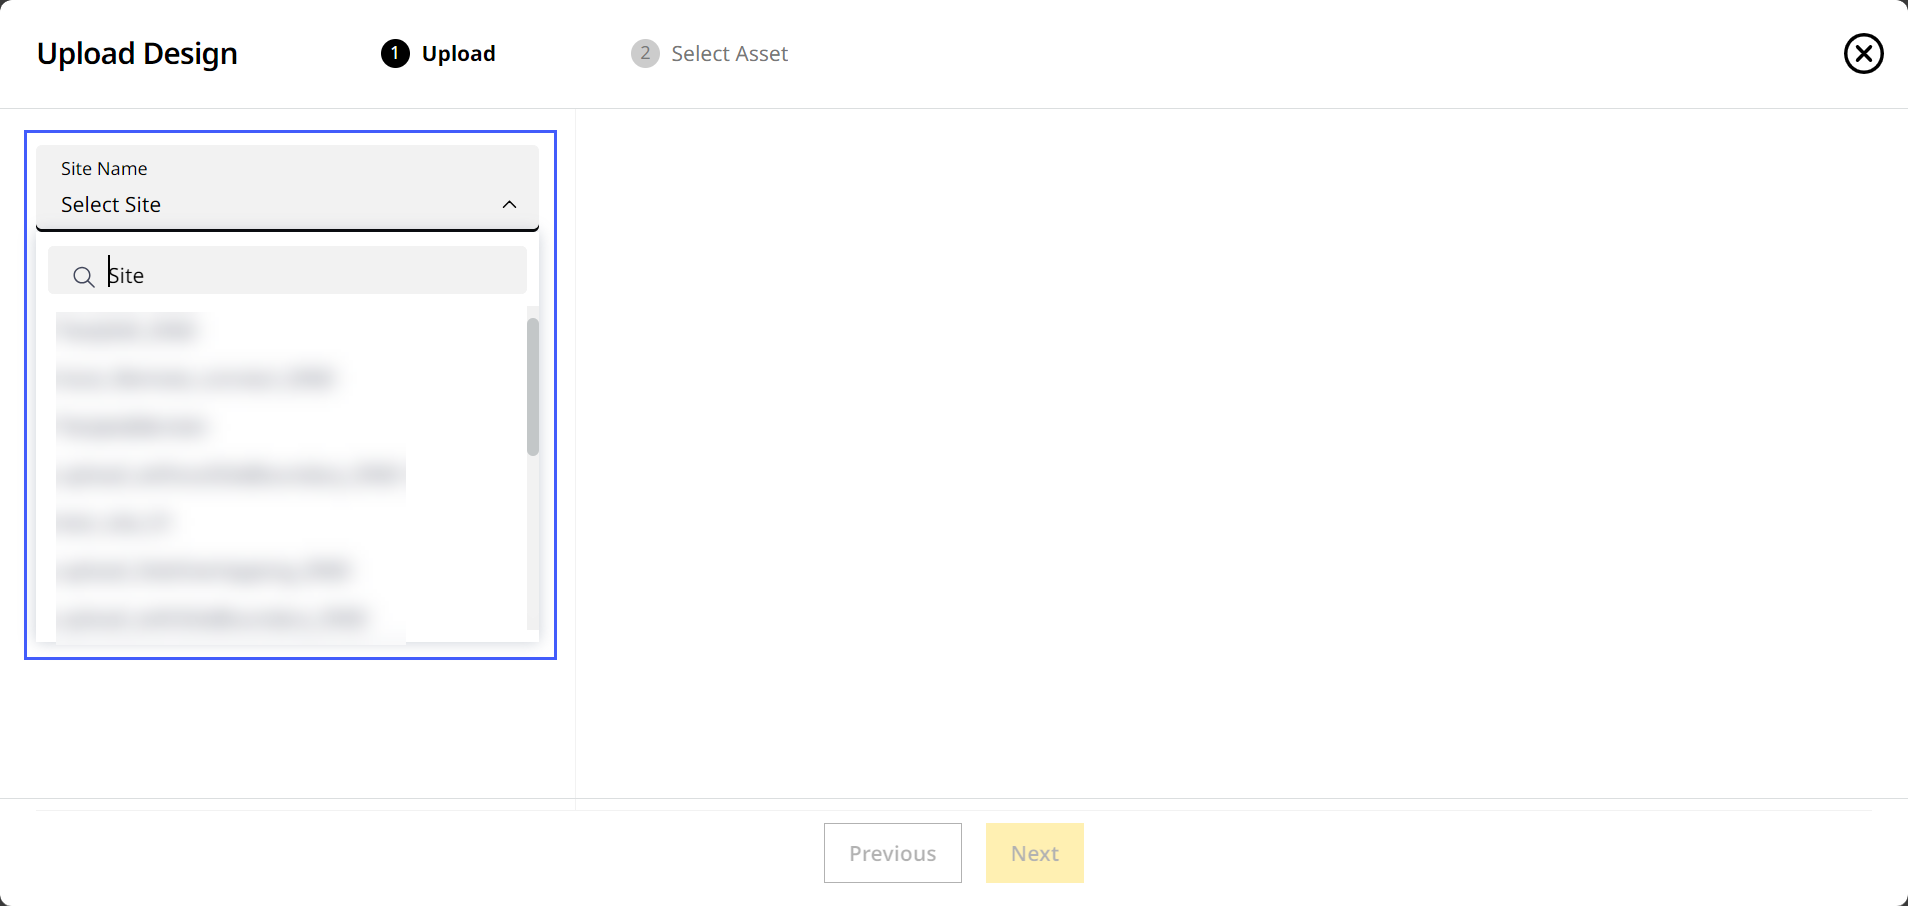
-
Drag and drop the file from your device or click Browse to find the file.
On Upload Design, you can only upload .dsz, .vcl, .xml (landXML), .dxf and .ttm (office design) file types.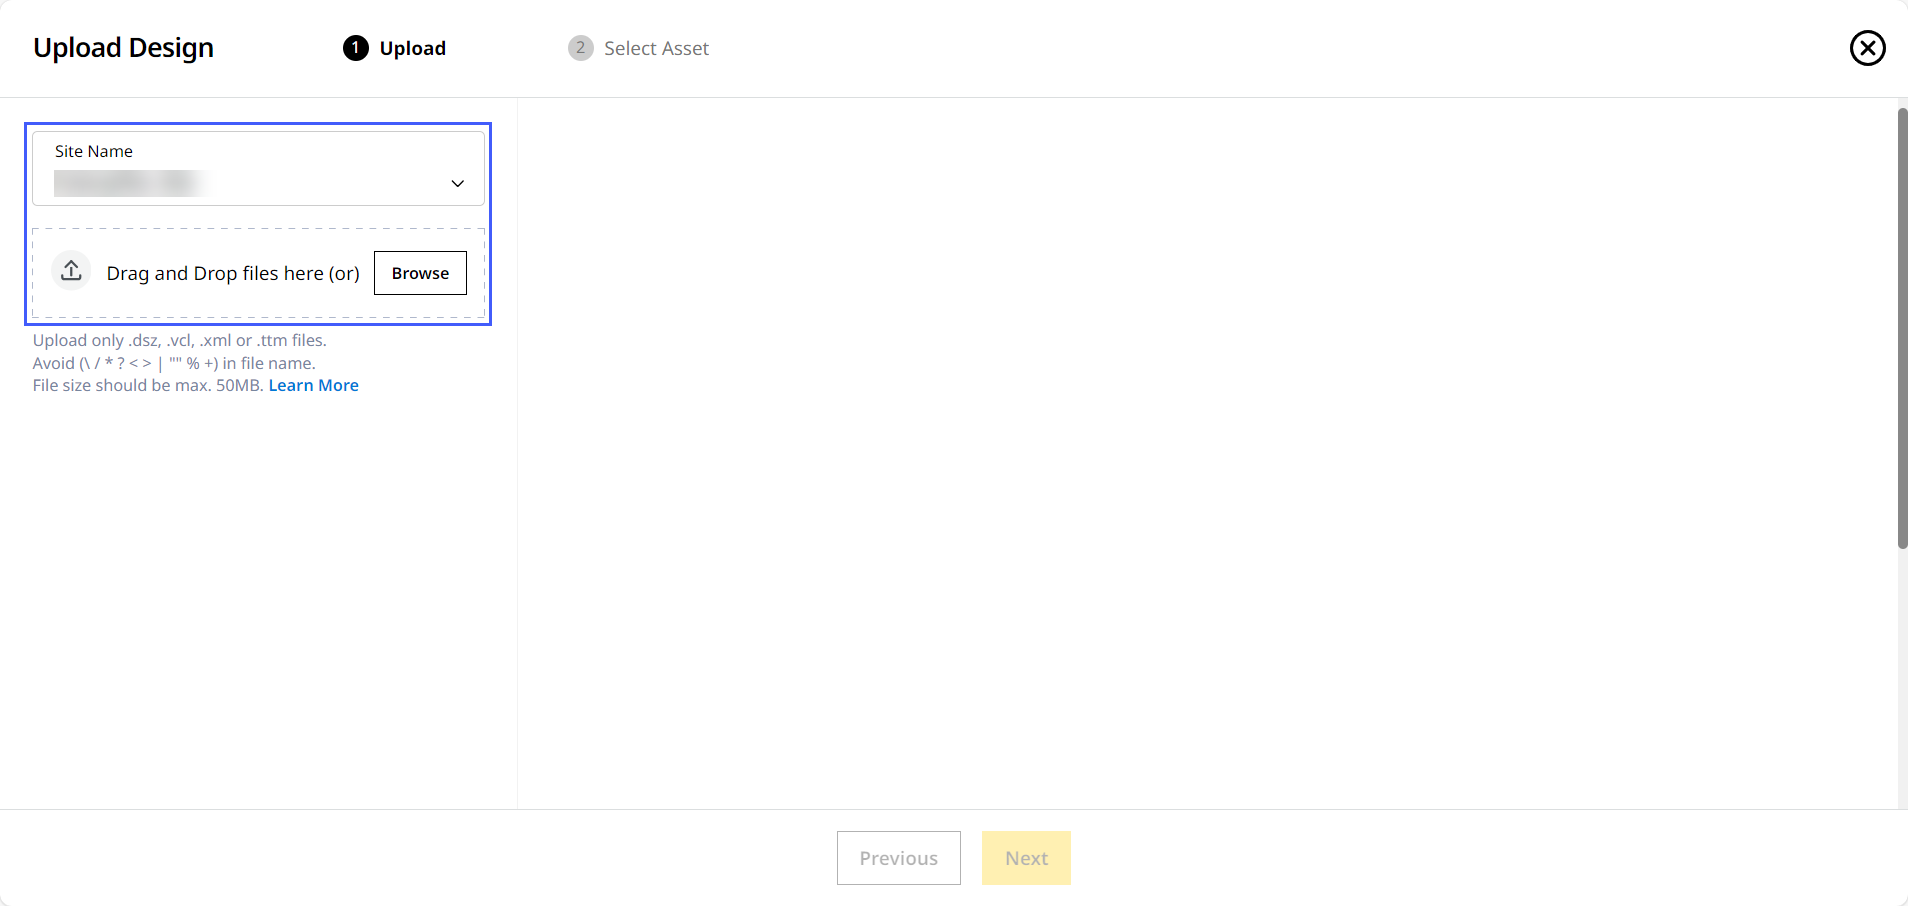
-
Give it a few minutes for the upload to complete.
-
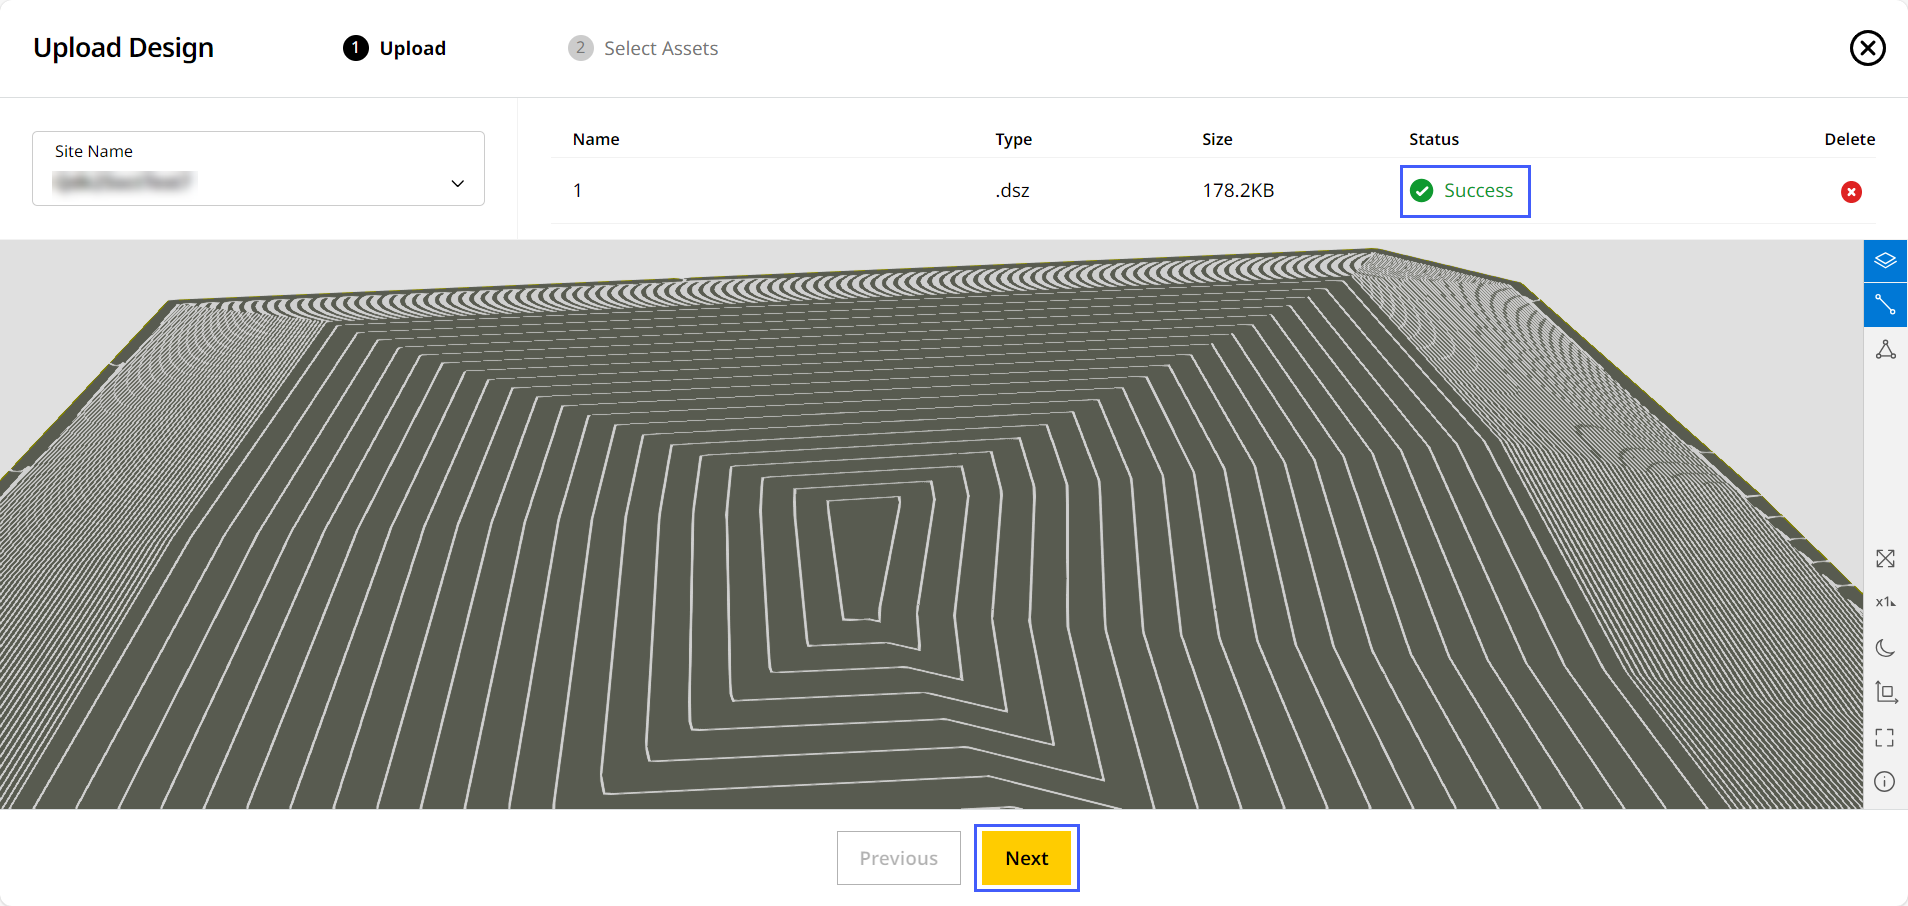
A successful upload of the file will be denoted in the Status column. Click Next to proceed.
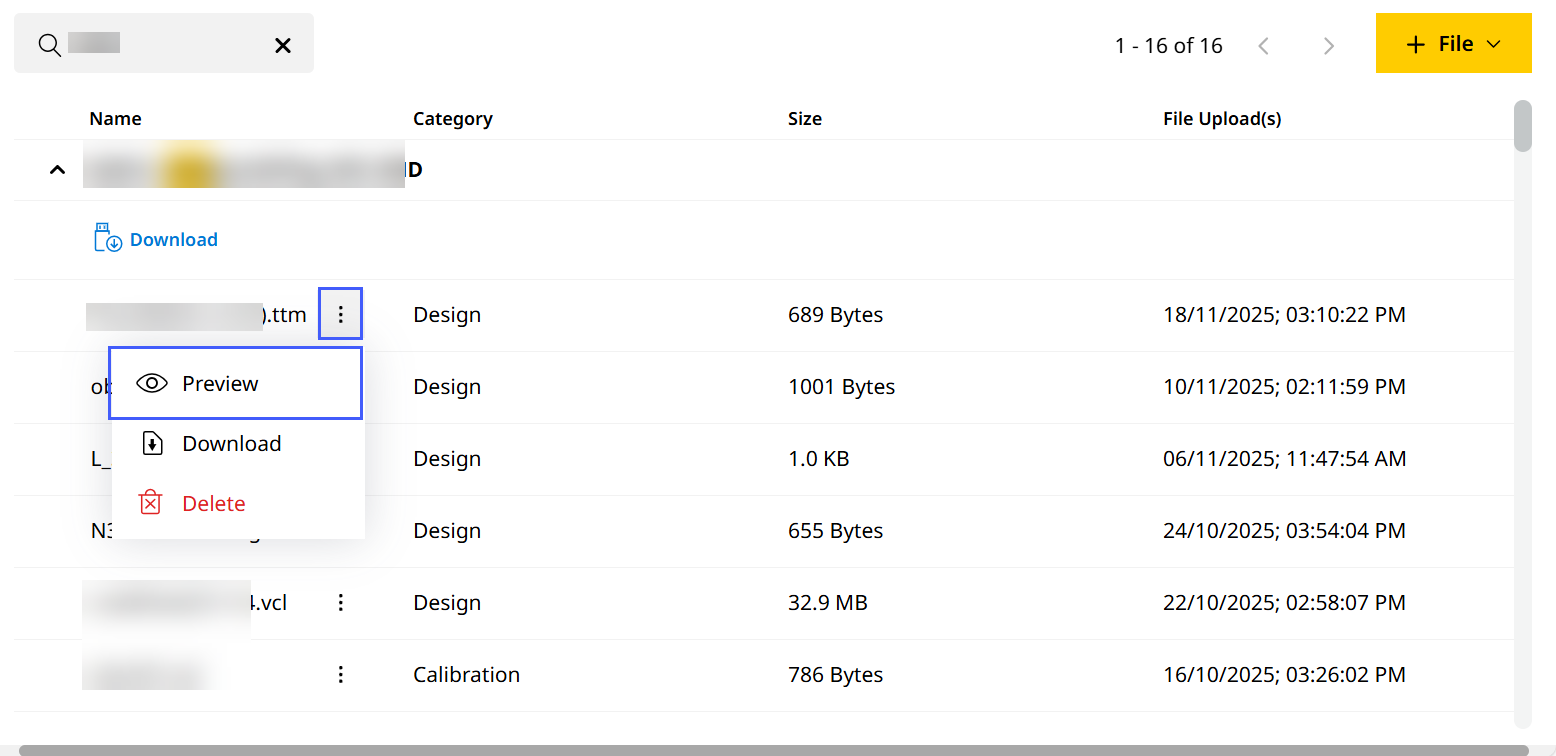
• If you're uploading .dsz, .dxf, .xml or .ttm files, a 3D visualization will be generated for you to preview. Refer to Preview File to know more.
View ImageView Image
• .dsz files comprise of .svd (design) and .svl (linework) files. If either are missing or the uploaded file is corrupted, the 3D preview model will be incomplete and respective error message display.
◦ If neither are available, the .dsz file won’t be processed or sent to the asset.
• For landXML (.xml) files, the following applies:
◦ The previewed file displays the surfaces in the same order as arranged in the file.
◦ The first (top-most) surface is selected by default, but the first processed surface displays first in the preview.
◦ Only valid surfaces will be displayed in the preview.
▪ If all the .xml file surfaces are invalid/unavailable, only the linework data displays in the preview. This file won’t be used to calculate the Work Remaining KPI.
▪ If linework data is invalid/unavailable, you won’t be able to select linework .
.
View ImageView Image
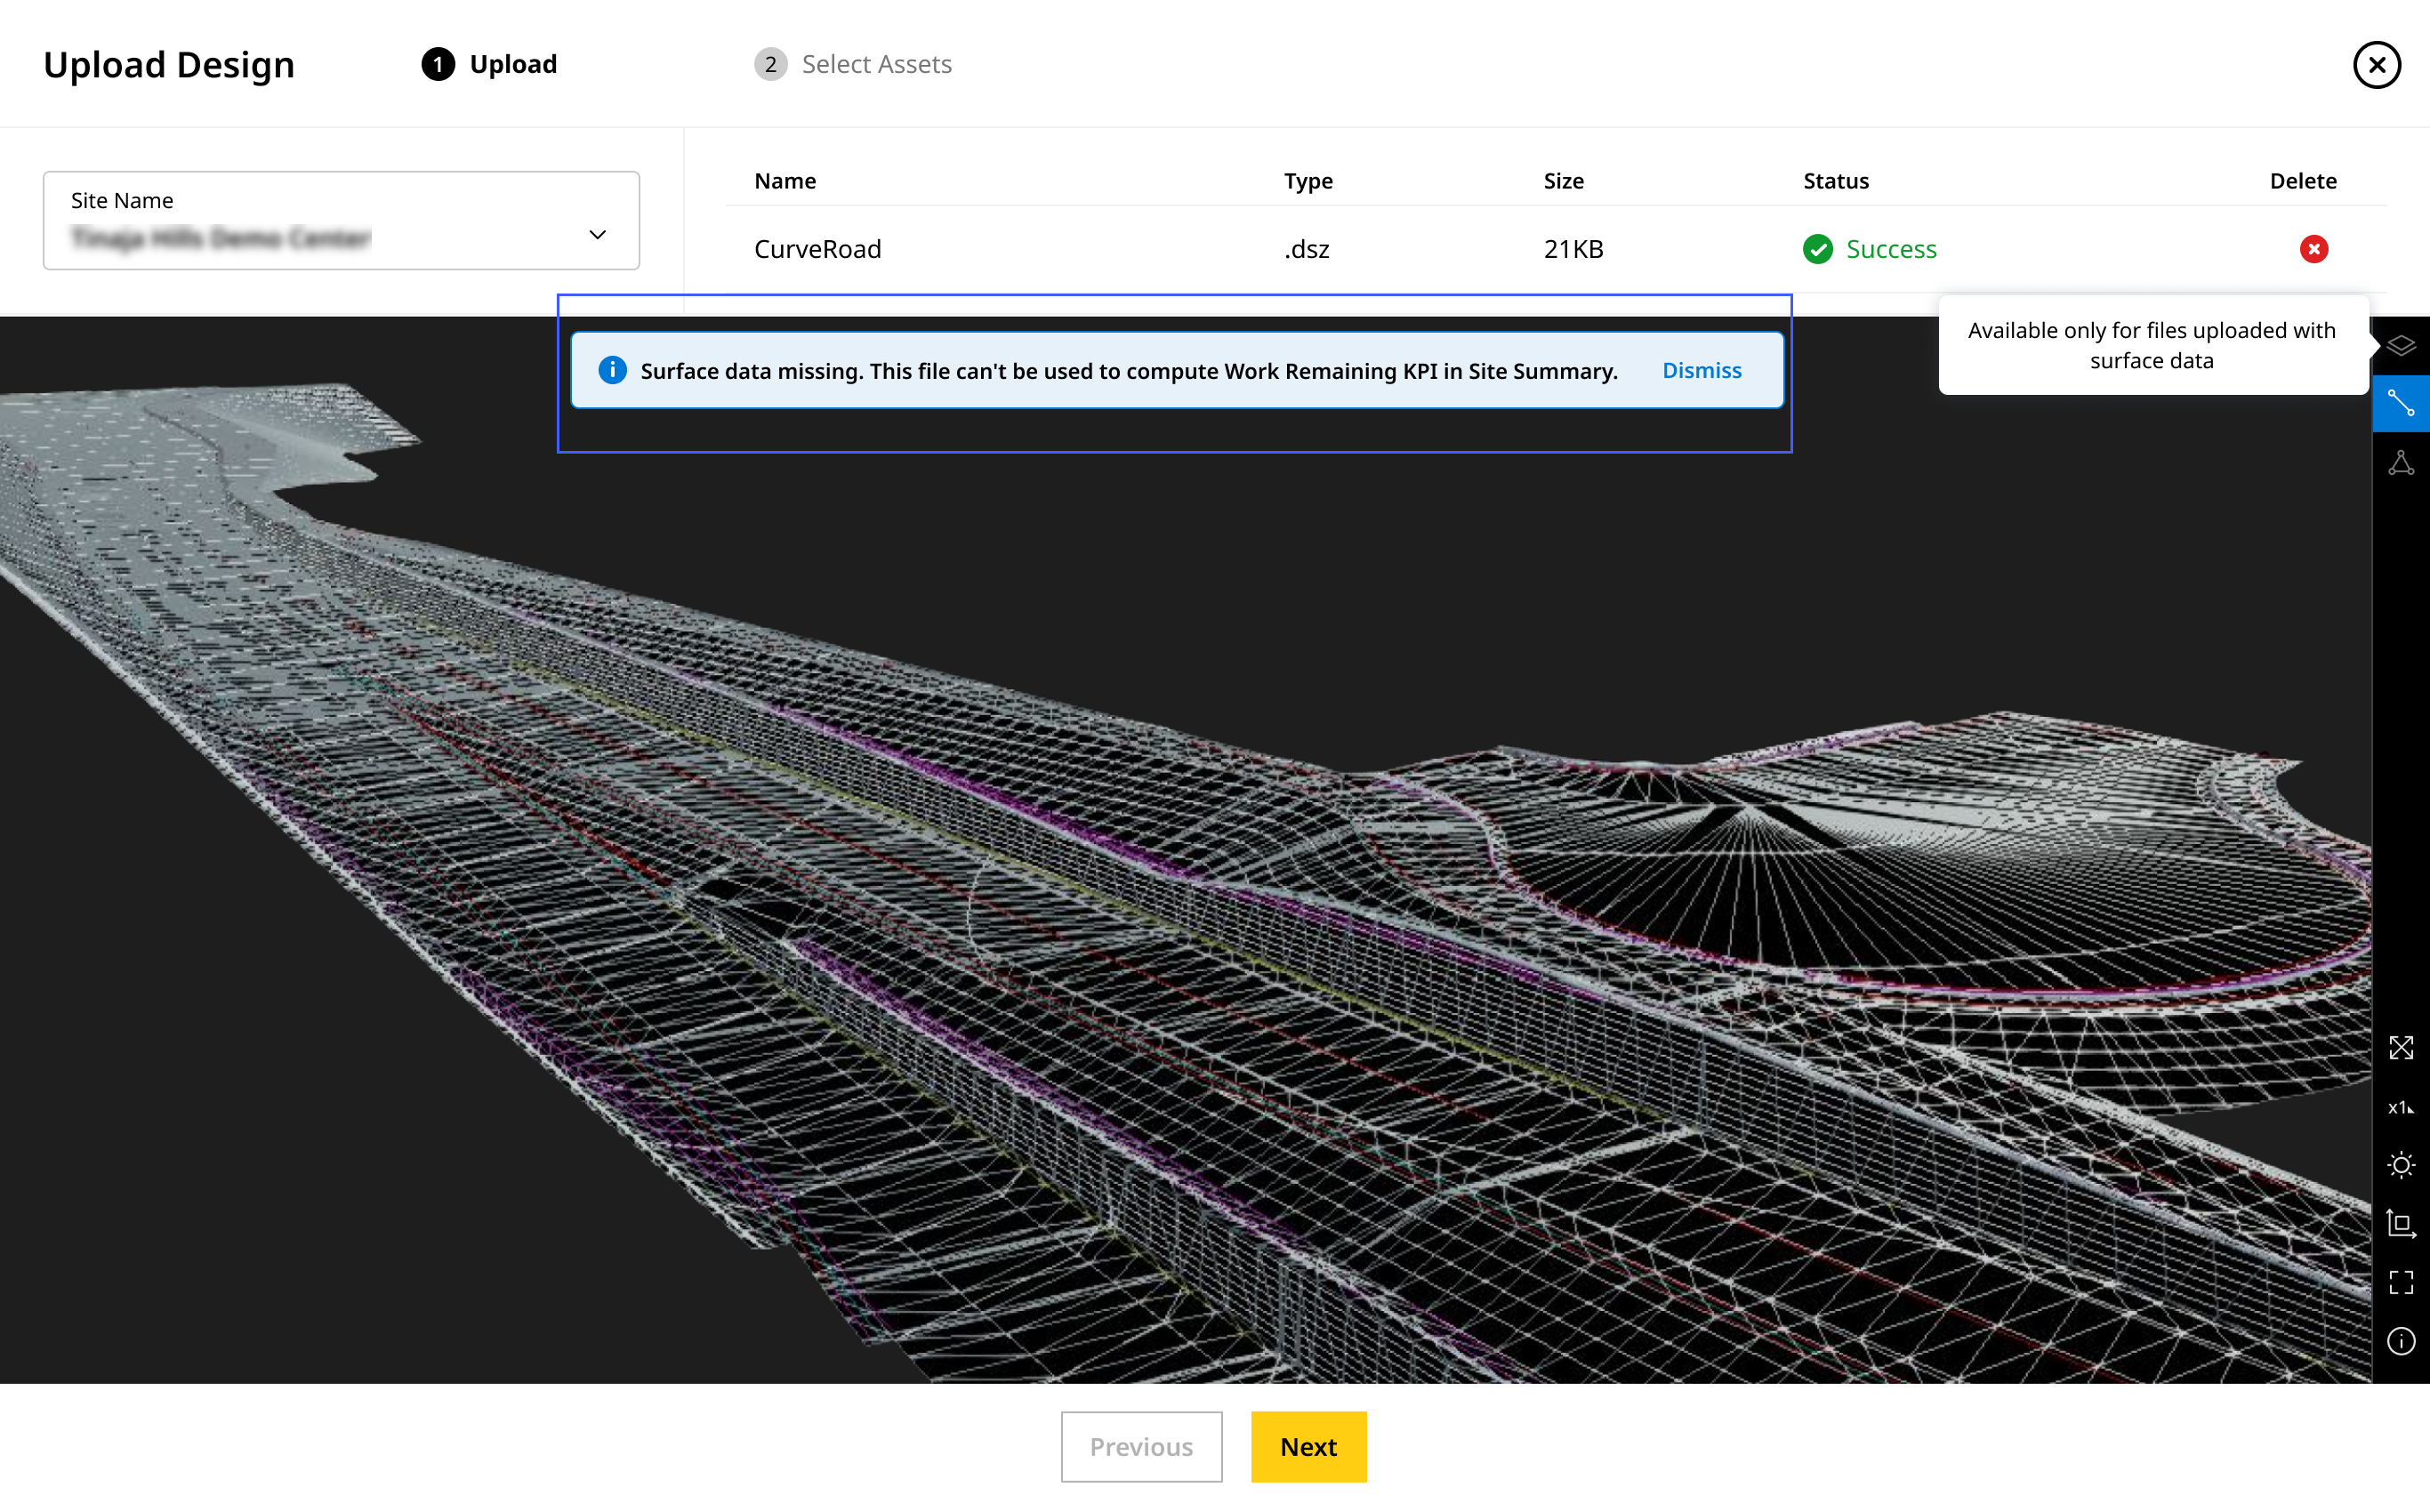
▪ If the .xml file has duplicate surface names, it will be considered invalid. Ensure the surface names are unique and re-upload the file.
View ImageView Image

-
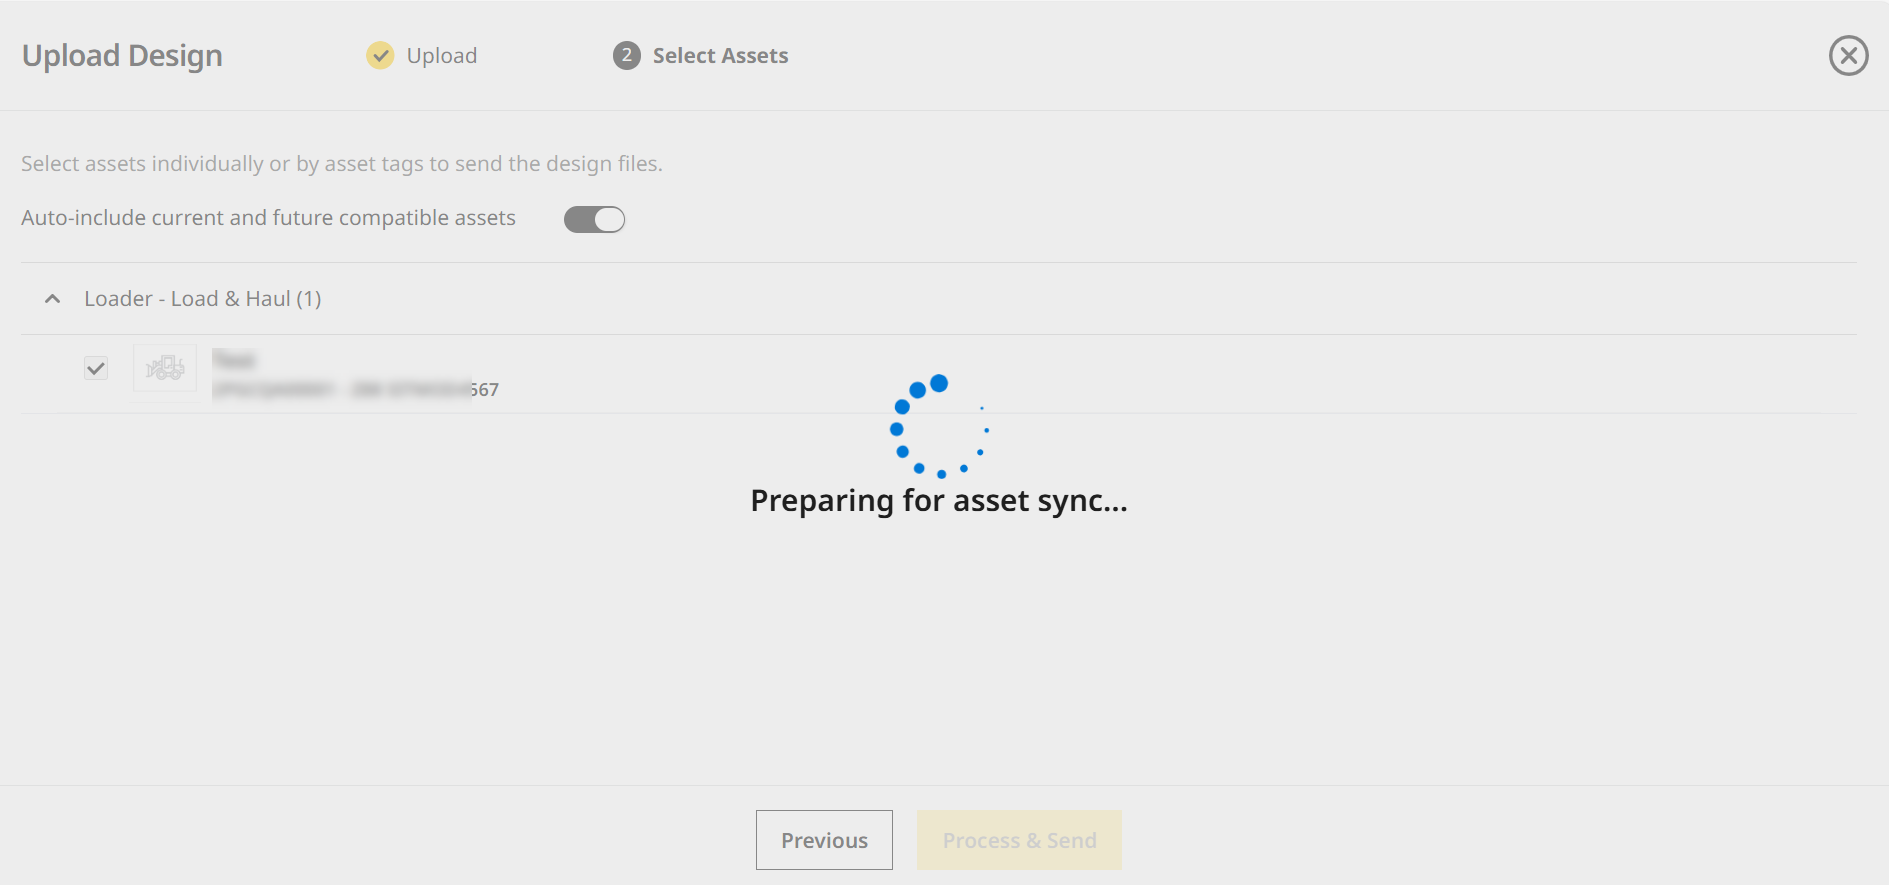
Your files are being prepared for asset sync.
-
On the Select Assets step, choose the assets where you want to send the uploaded files. Click Process & Send to proceed.
The Select Assets step is available only for .dsz, .vcl and .xml files.
View ImageView Image

Click toggle on to select all assets in the list below and any more compatible assets added to the site in the future. This ensures the file will be synced to all of them going forward.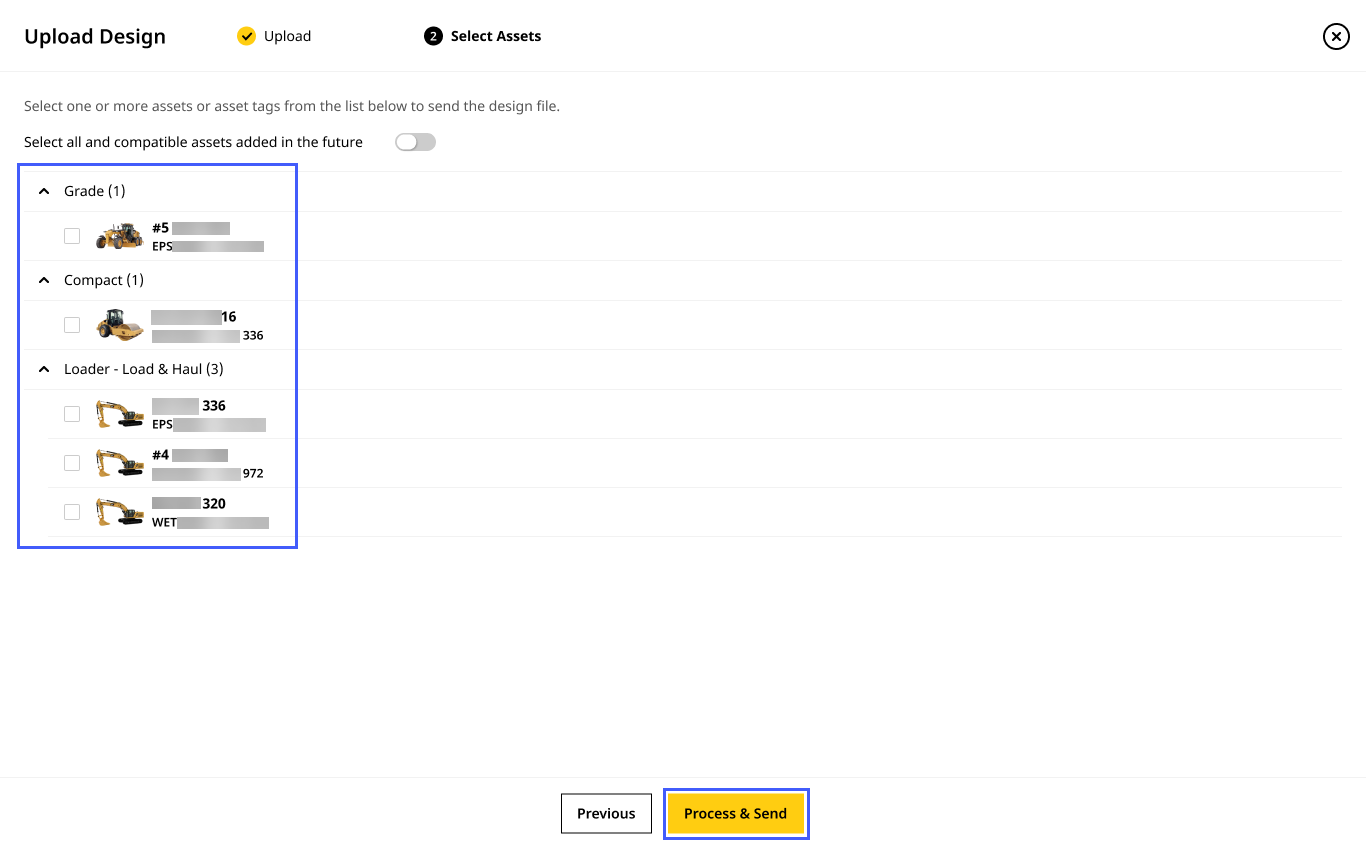
Merge Design Files
You can now upload and merge surface and linework in .xml and .dxf design files respectively into a single .xml file before sending them directly to your assets. Efficiently streamline your workflow by merging and uploading design files in the Productivity features of VisionLink itself rather than switching across other applications.
To upload and merge design files:
-
Select Design > select Merge from the expanded menu.

-
Select the desired site from the Site Name drop down.
On the Site Name drop down, you can search for your desired site in case to quickly find and select them.
-
Under Surface and Linework, drag and drop .xml file and .dxf file respectively from your device or click Browse to find the file.
• You can upload only .xml files under Surface.
• If the uploaded file contains both surface and linework, only the surface is considered.
• You can upload only .dxf file under Linework.
• If the uploaded .dxf file contains both surface and linework, only the linework is considered.
Ensure that you need to upload calibration file for creating Avoidance Zone file.
View ImageView Image


-
After the surface and linework files are uploaded, view its status along with details such as name, type, geometry, and size. Click Delete
 if you wish to remove the file.
 -
Click Next to merge .xml file’s surface data with .dxf file’s linework data.

-
Give it a few minutes for the files to merge.

-
A successful upload of the file will be denoted in the Status column. Click Next to proceed.

A 3D visualization of the merged file will be generated for you to preview. You can skip this and move to the next step if you wish to continue with uploading the file. Refer to Preview File to know more about previewing a file after uploading it. -
On the Select Assets step, choose the assets where you want to send the uploaded files. Click Process & Send to proceed.
In case you wish to remove the uploaded file, click Delete and reupload the preferred files.
View ImageView Image

Click toggle on to select all assets in the list below and any more compatible assets added to the site in the future. This ensures the file will be synced to all of them going forward.
-
After the merging process is complete, view the merged file in Files, categorized as Merged Design.

Both parent files and merged files can be downloaded. For USB download, only the merged .xml files is supported.
 .
.