Uploading Calibration Files

• Only one active calibration file can be uploaded to a site.
• To upload a calibration file, a site should have an existing site boundary or you will need to create one. Refer to Create or Modify Site Boundary to Upload Calibration File to know more.
• The calibration file may reference other files like geoid or grid datum files located in the geodata folder. If you’re planning to also upload geodata file(s), ensure the uploaded calibration file has their file name(s) referenced. Contact your survey manager to get the required site calibration and optional geodata files.
• Any VisionLink Productivity site that monitors grade productivity can have only one calibration file.
• You need to upload a calibration file if you're adding Grade or Compact assets to your site.
• The projections supported in the calibration files are:
◦ Transverse Mercator
◦ Mercator
◦ Lambert Conformal Conic 1
◦ Lambert Conformal Conic 2
◦ Oblique Sterographic
◦ Oblique Conformal Cylindrical
◦ Oblique Mercator Angle
◦ Albers Equal Area Conic
If you have any projections beyond those mentioned above, please Contact Support  .
.
To upload calibration files:
-
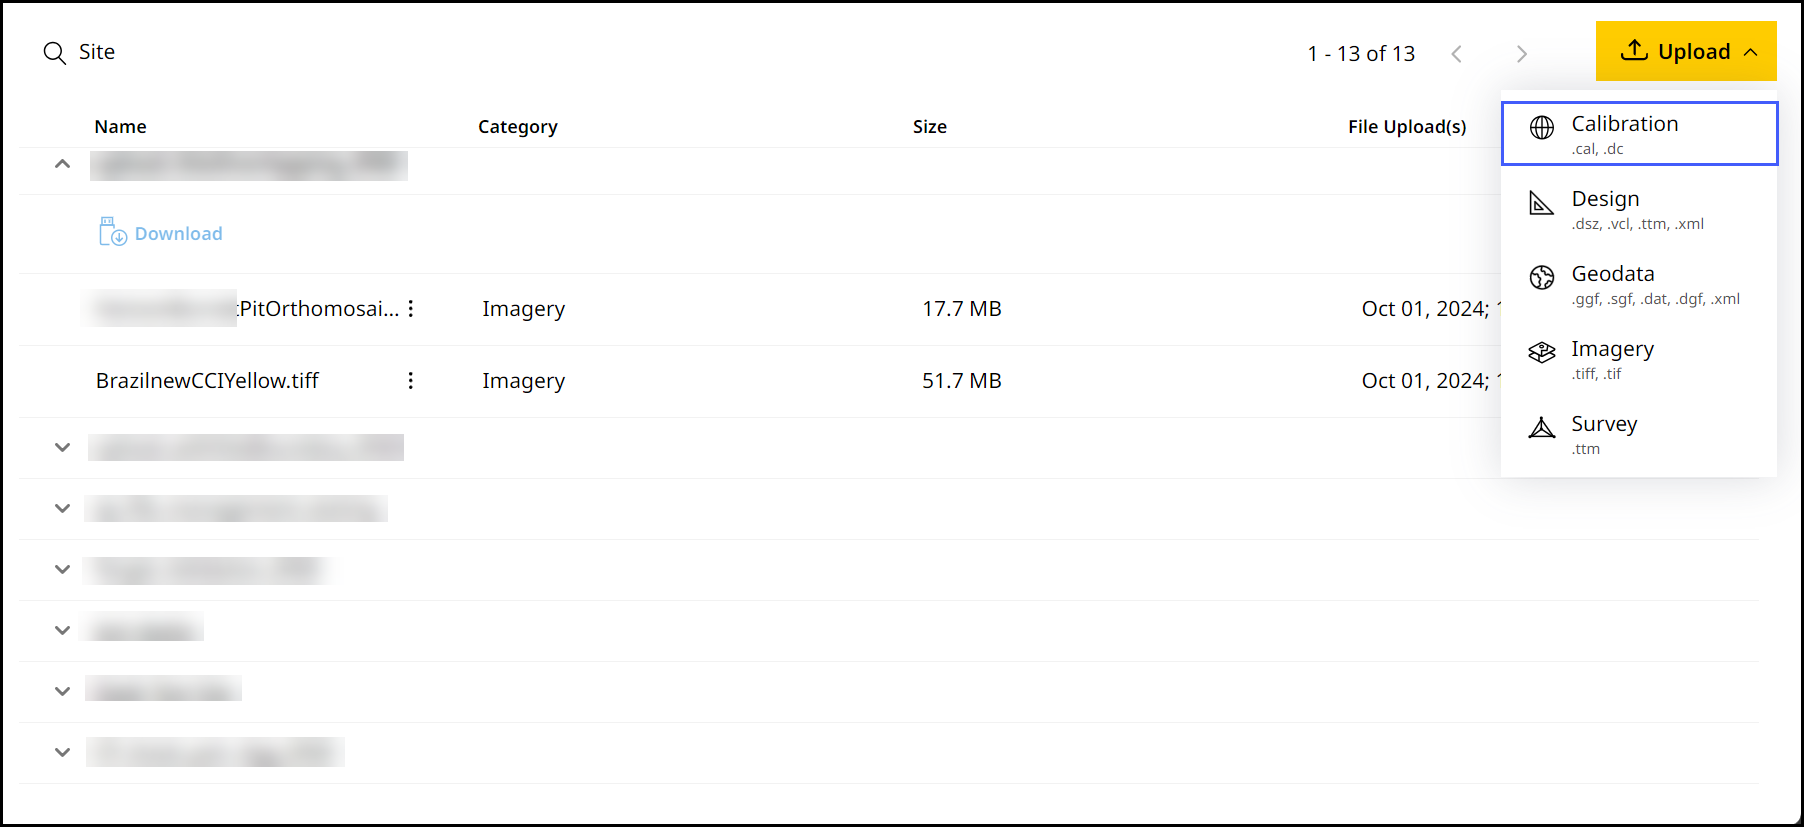
On Files, click
 > select Calibration.
-
Select Upload from the expanded menu.

-
Select the desired site from the Site Name drop down.

On the Site Name drop down, you can search for your desired site in case to quickly find and select them.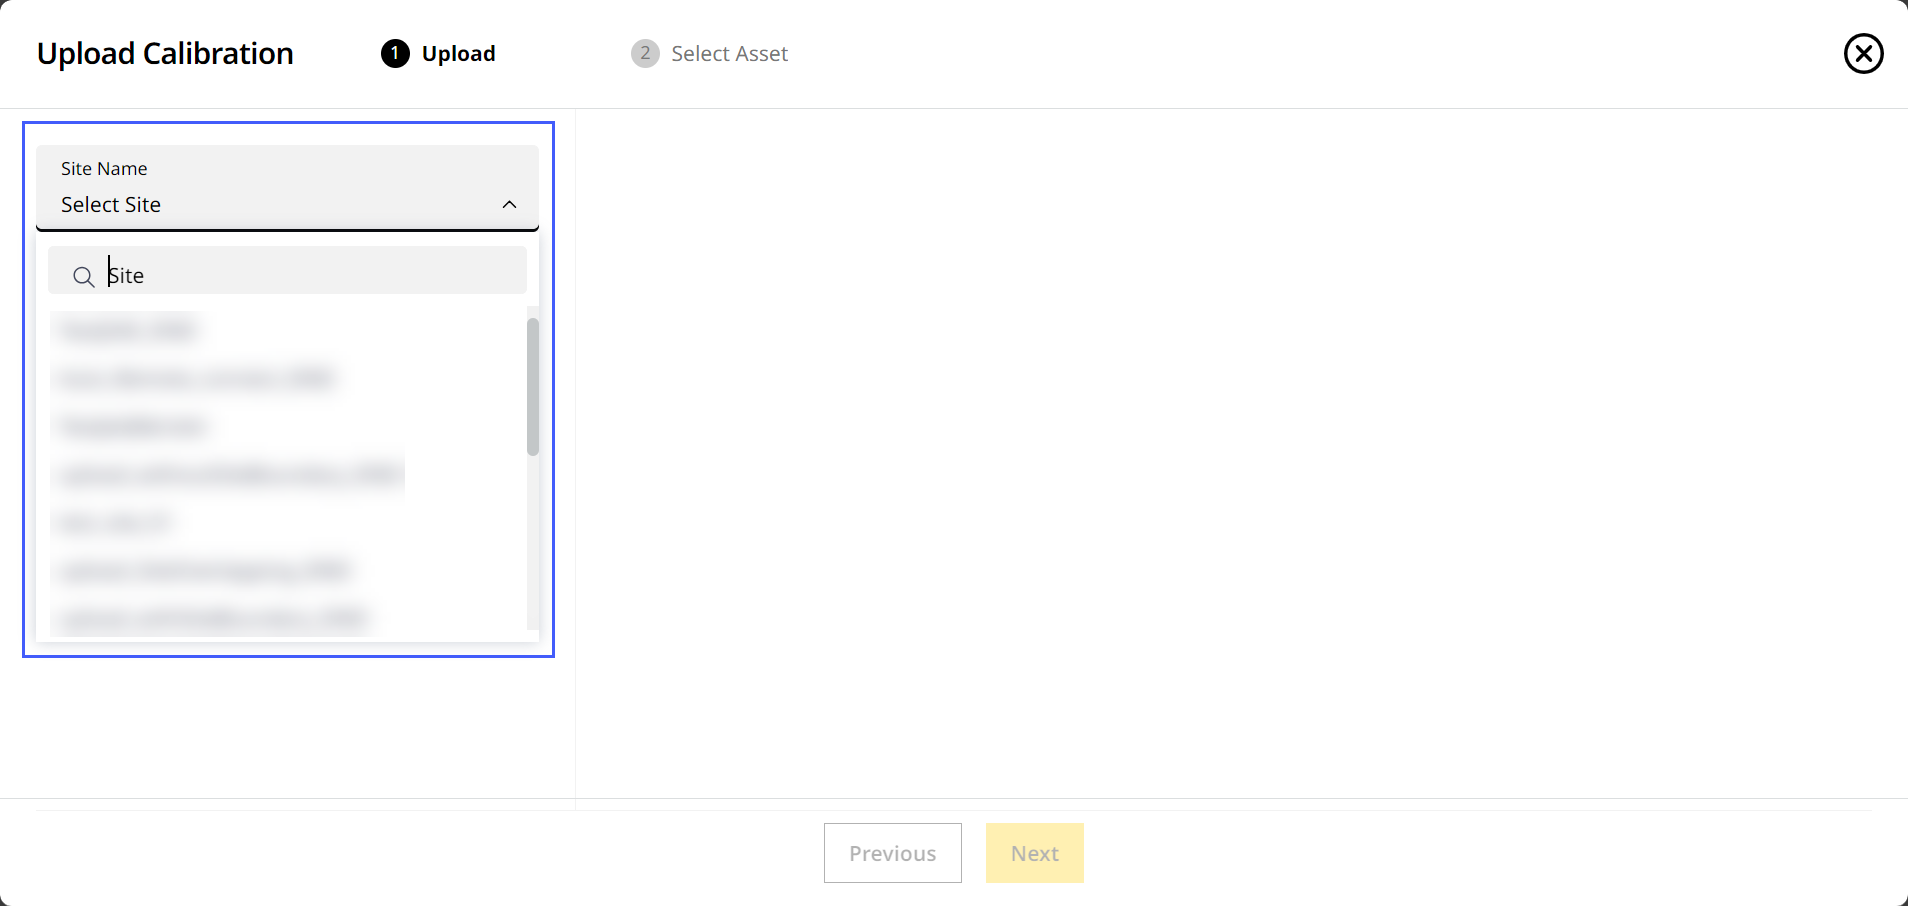
-
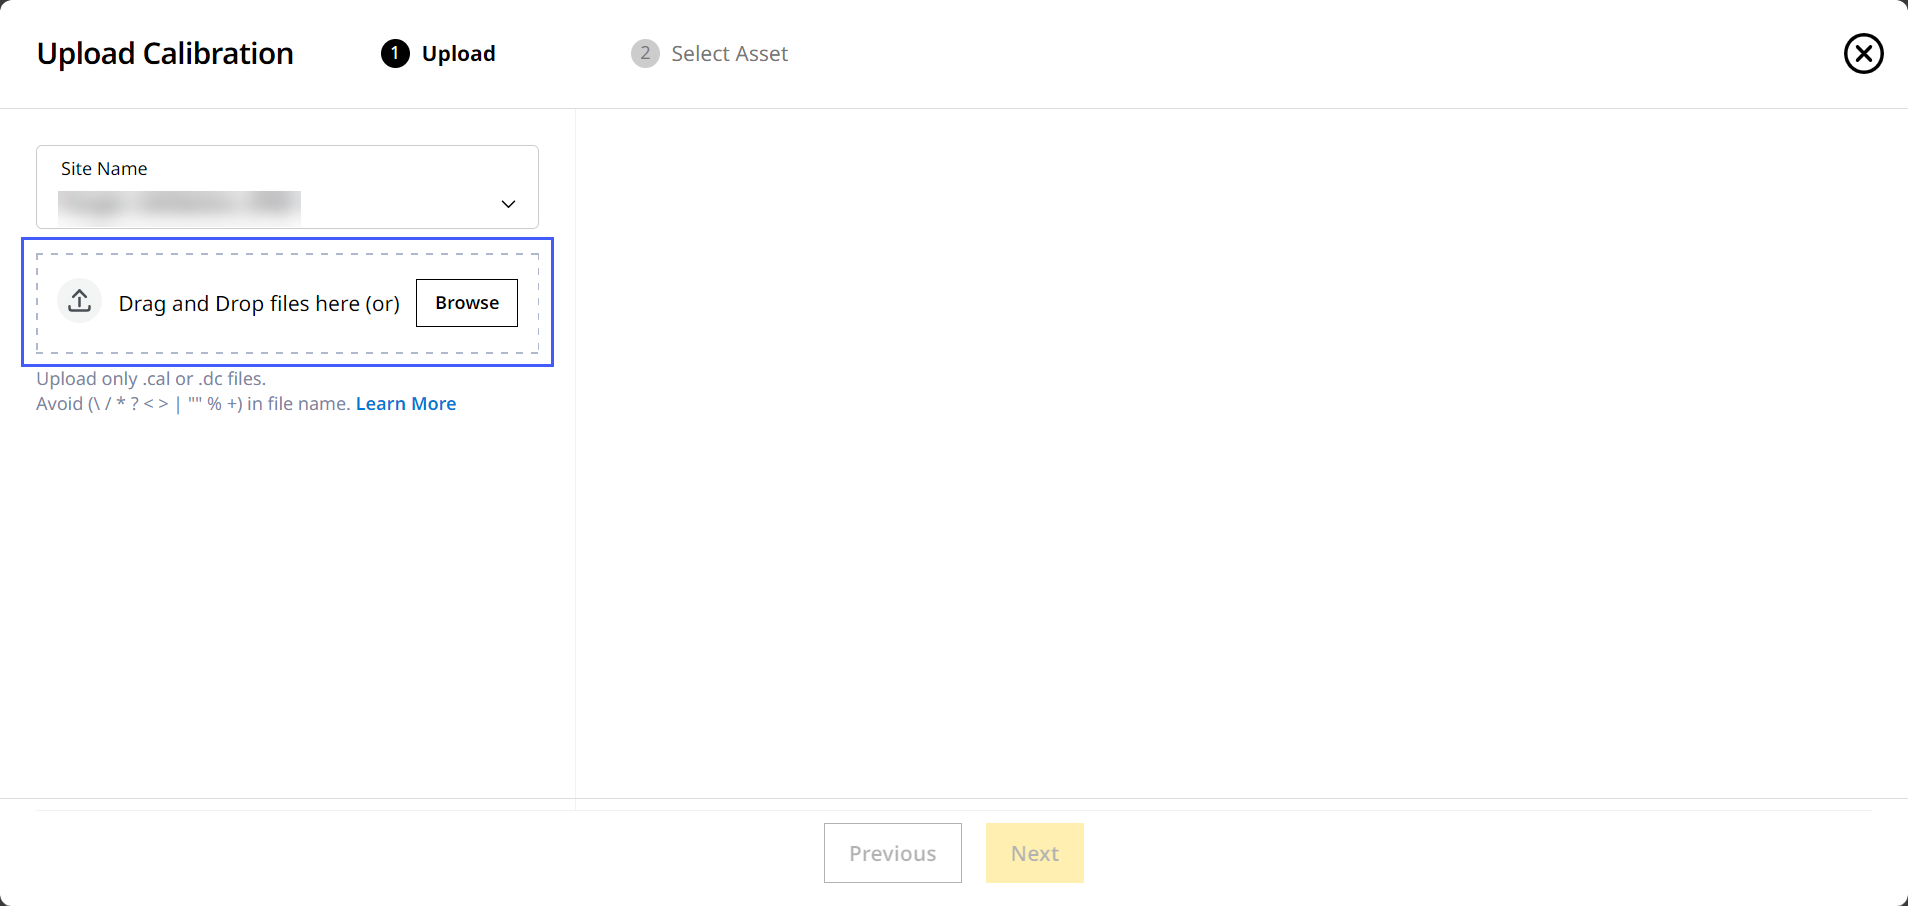
Drag and drop the file from your device or click Browse to find the file.
• On Upload Calibration, you can only upload .cal and .dc file types.
• Uploading a new calibration file replaces the previously uploaded calibration file and all associated data, including existing calibration files, surveys, design files, and geodata, which will no longer be available. After the upload, all new asset data will be processed only using the updated calibration (.cal) file.
View ImageView Image

-
If the calibration uses a geoid, the referenced geoid file (.ggf) and CoordinateSystemDatabase.xml are displayed. Keep the checkboxes selected to upload these files with the calibration. Select Upload.

-
Give it a few minutes for the upload to complete.
-
A successful upload of the file will be denoted in the Status column.
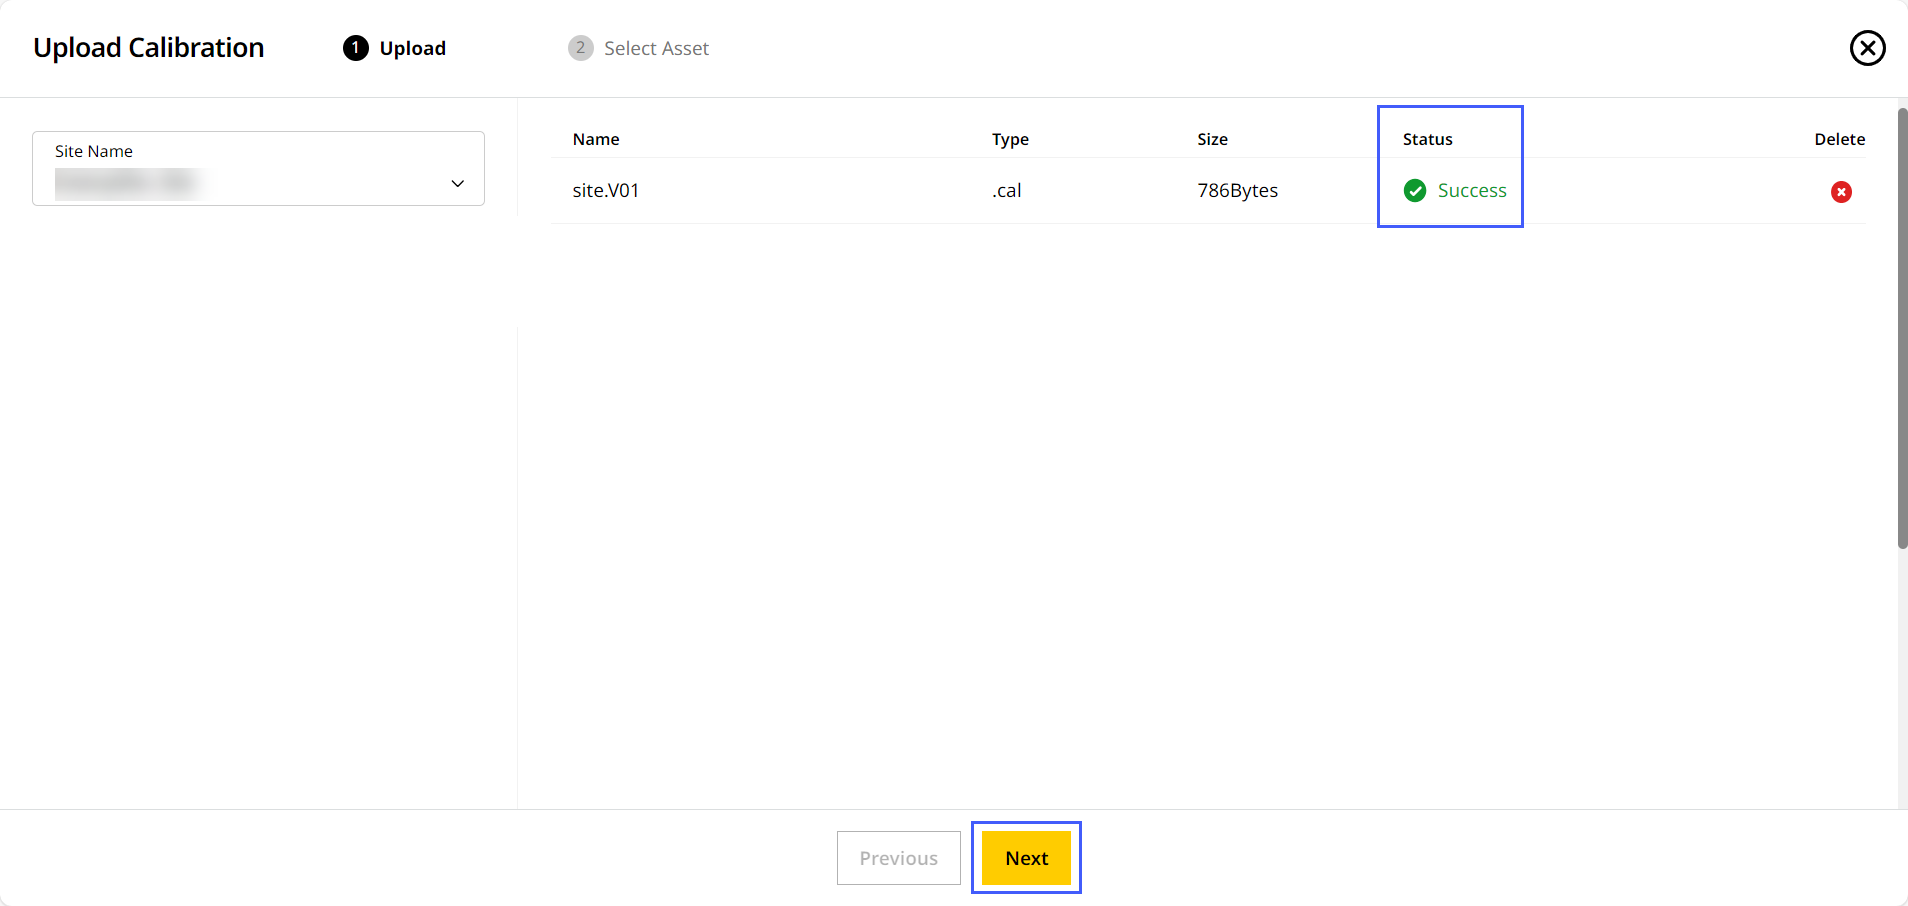
If the calibration file references a geoid file that is not available, only the calibration is uploaded. Upload the referenced file separately to ensure the calibration can be used correctly on the asset. Refer to Uploading Geodata Files to know more. -
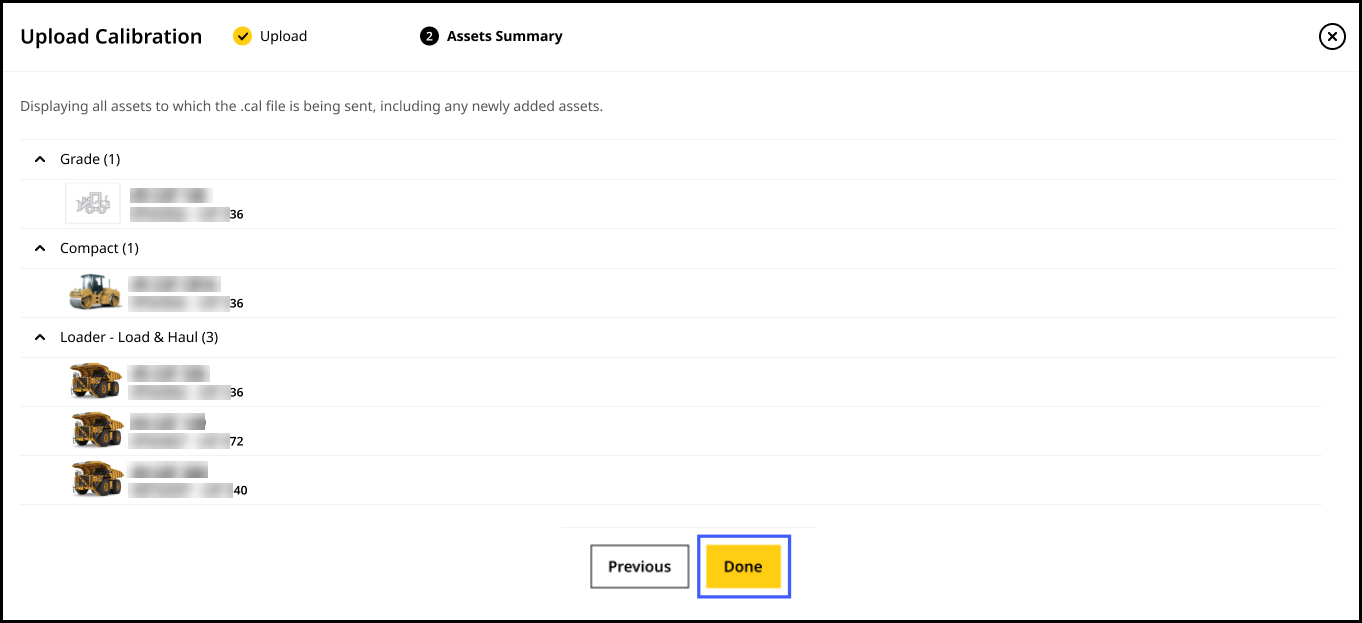
Once the process is completed, click Next to view Asset Summary. Here, you can see all assets that will receive the uploaded calibration file. Click Done.