Uploading Avoidance Zone File
An Avoidance Zone file defines specific areas on a site that assets should avoid—like hazardous zones, protected areas, or unstable ground. It typically contains square, circular, rectangular and closed polygon shapes and is used by machine control systems to trigger warnings or prevent entry into those zones during operation.
Uploading Avoidance Zone File

• Upload only avoid.svl file types.
• This is available only for Grade and Compact assets visualizing and operating on 2D terrains.
• The site must have a valid calibration file before uploading avoidance zone file.
• File must include at least one closed polygon; polylines aren’t supported.
◦ No limit on the total number of polygon line segments in the file.
◦ File must contain no more than 800 closed polygon edges.
◦ Files with a mix of closed polygons and polylines won’t be sent to the asset.
• Intersecting polygons and elevated zones won’t be visible in the asset.
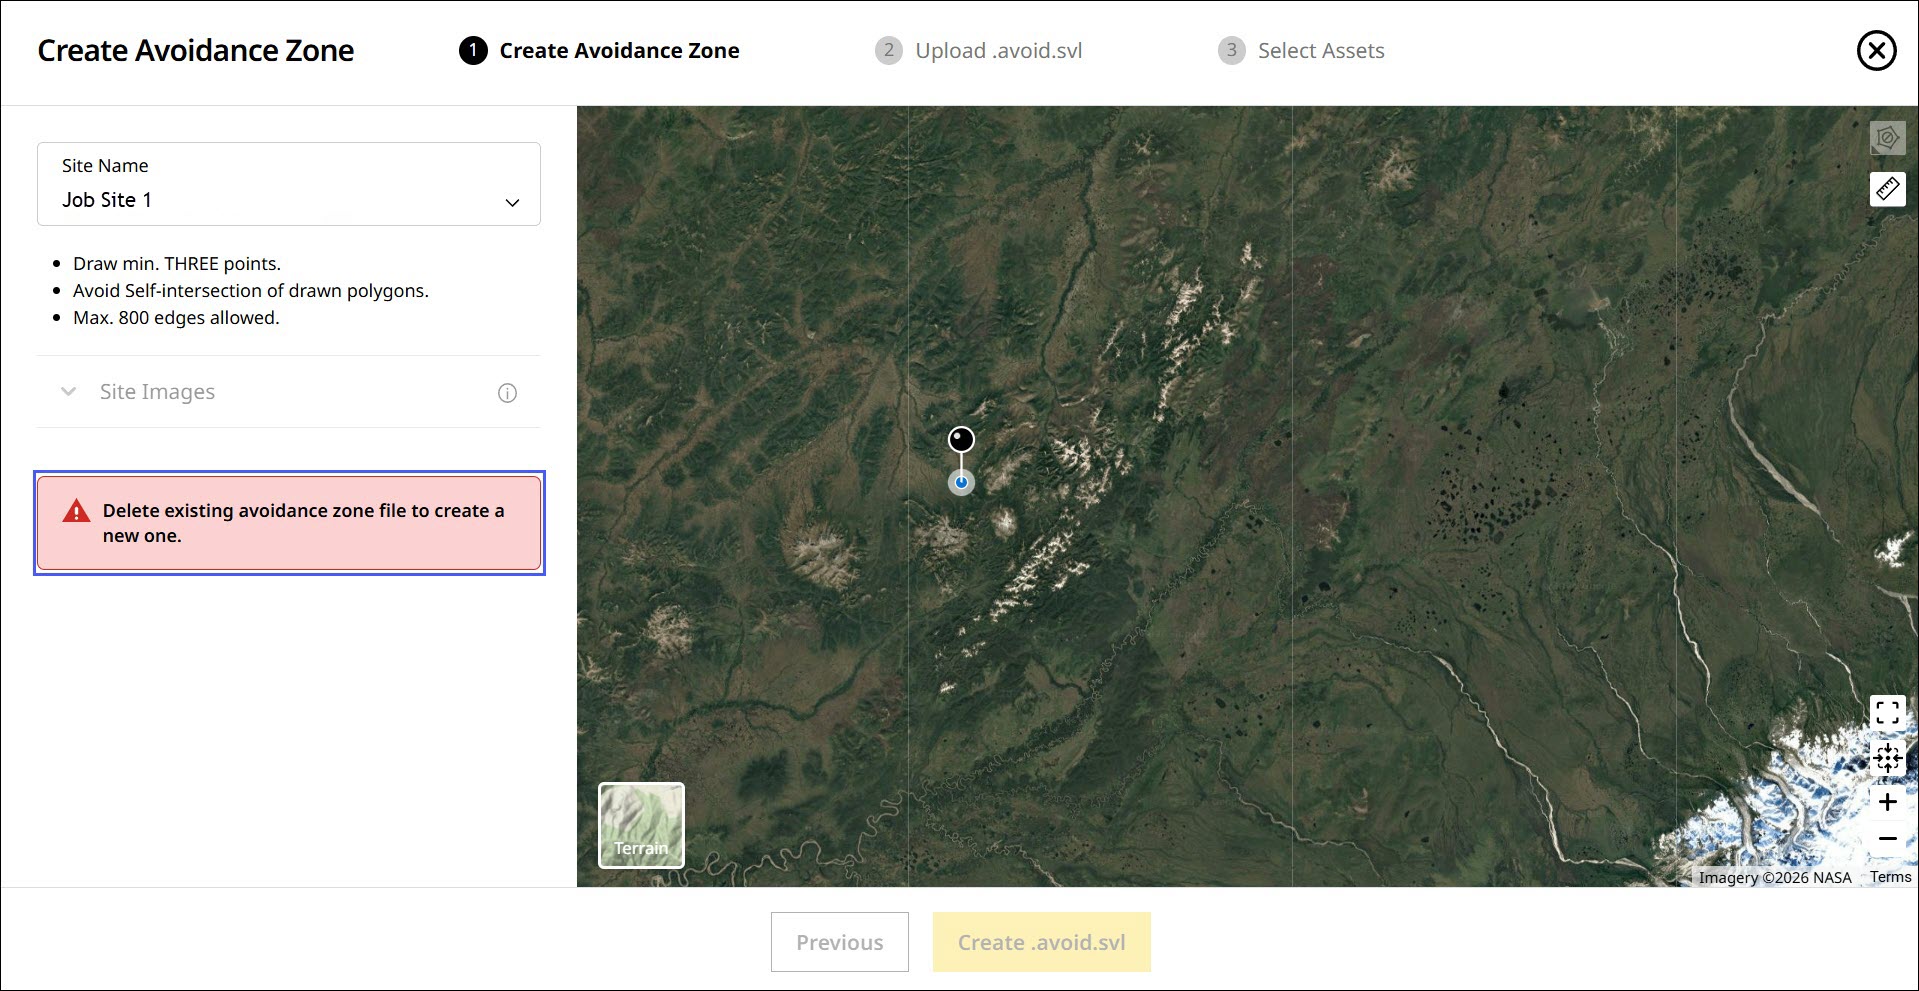
• Only one avoidance zone file is allowed per site at a time. To upload a new one, the existing file must be deleted first.
• Avoid special characters (\ / * ? < > “ “ % +) in the file name.
• File size should not be more than 50MB.
• USB download is available for this file type.
To upload avoidance zone files:
- On Files, click
 > select Avoidance Zone.
 -
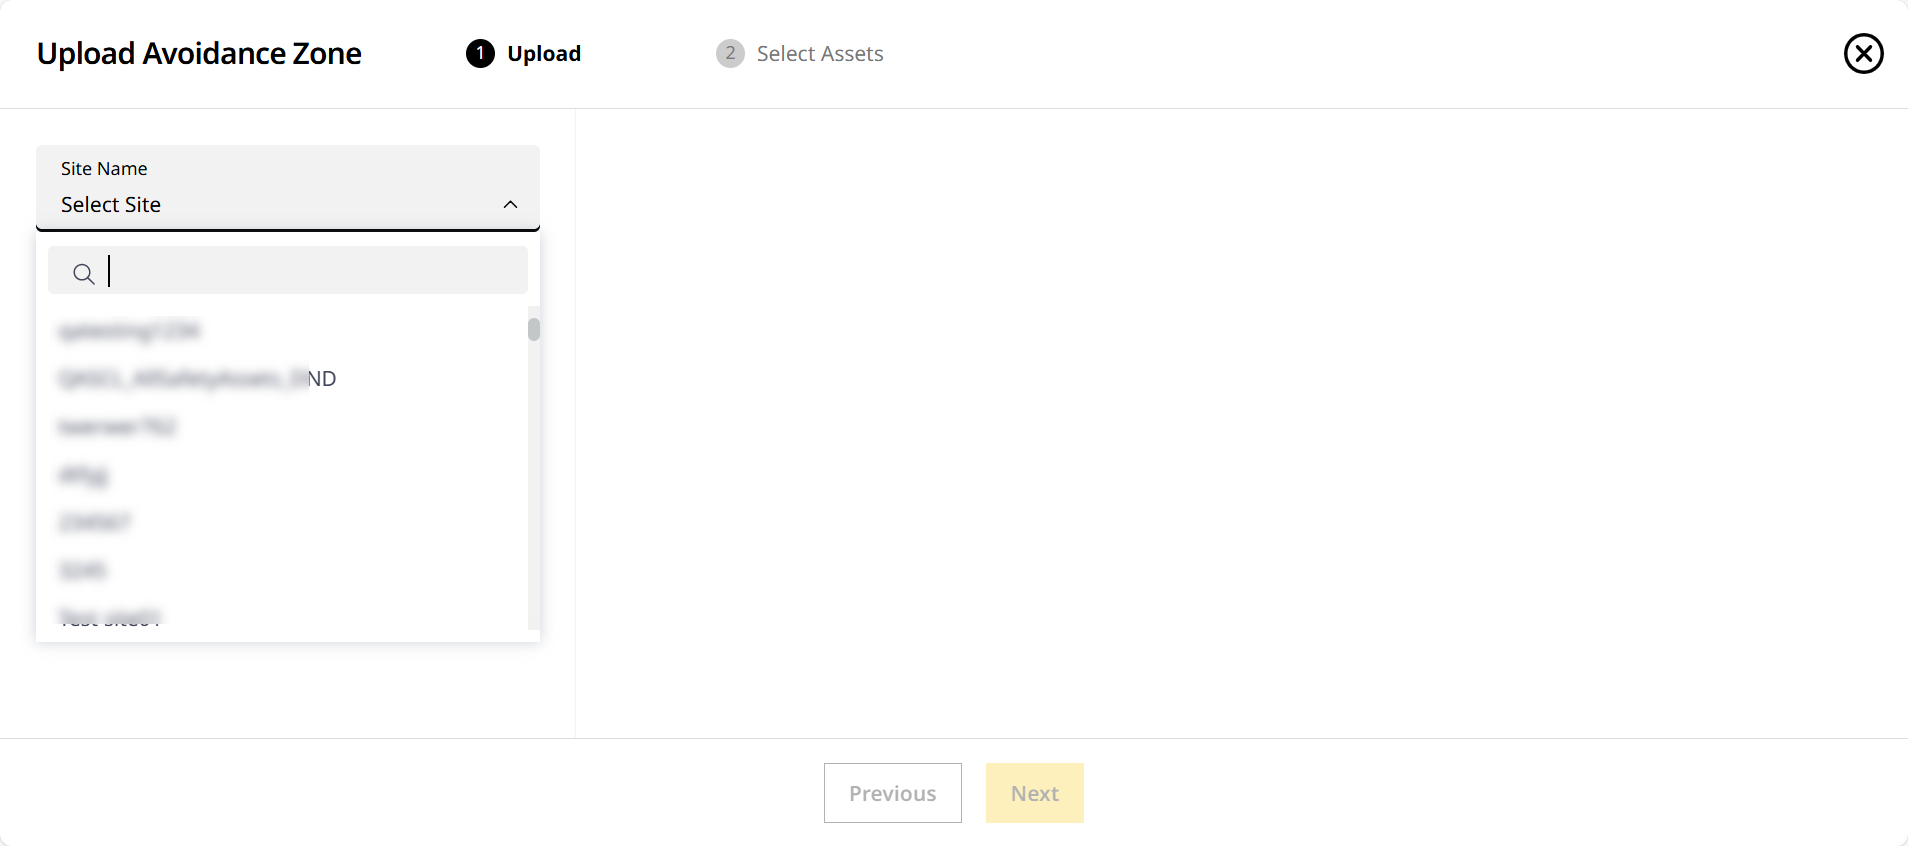
Select the desired site from the Site Name drop down.
-
Drag and drop the file from your device or click Browse to find the file.

-
Give it a few minutes for the upload to be completed.

-
Preview the processed avoidance zones by clicking Surface
 . Click Next to move to Select Assets.


• Adjust view with Zoom to Extent and Fullscreen
  options. You can also switch to either Satellite View, Terrain View or Avoidance Zone View by clicking Map Layers
  .
.
• Check Preview Files to explore more visualization features. -
On Select Assets, choose the assets where you want to send the uploaded files. Click Process & Send to proceed.
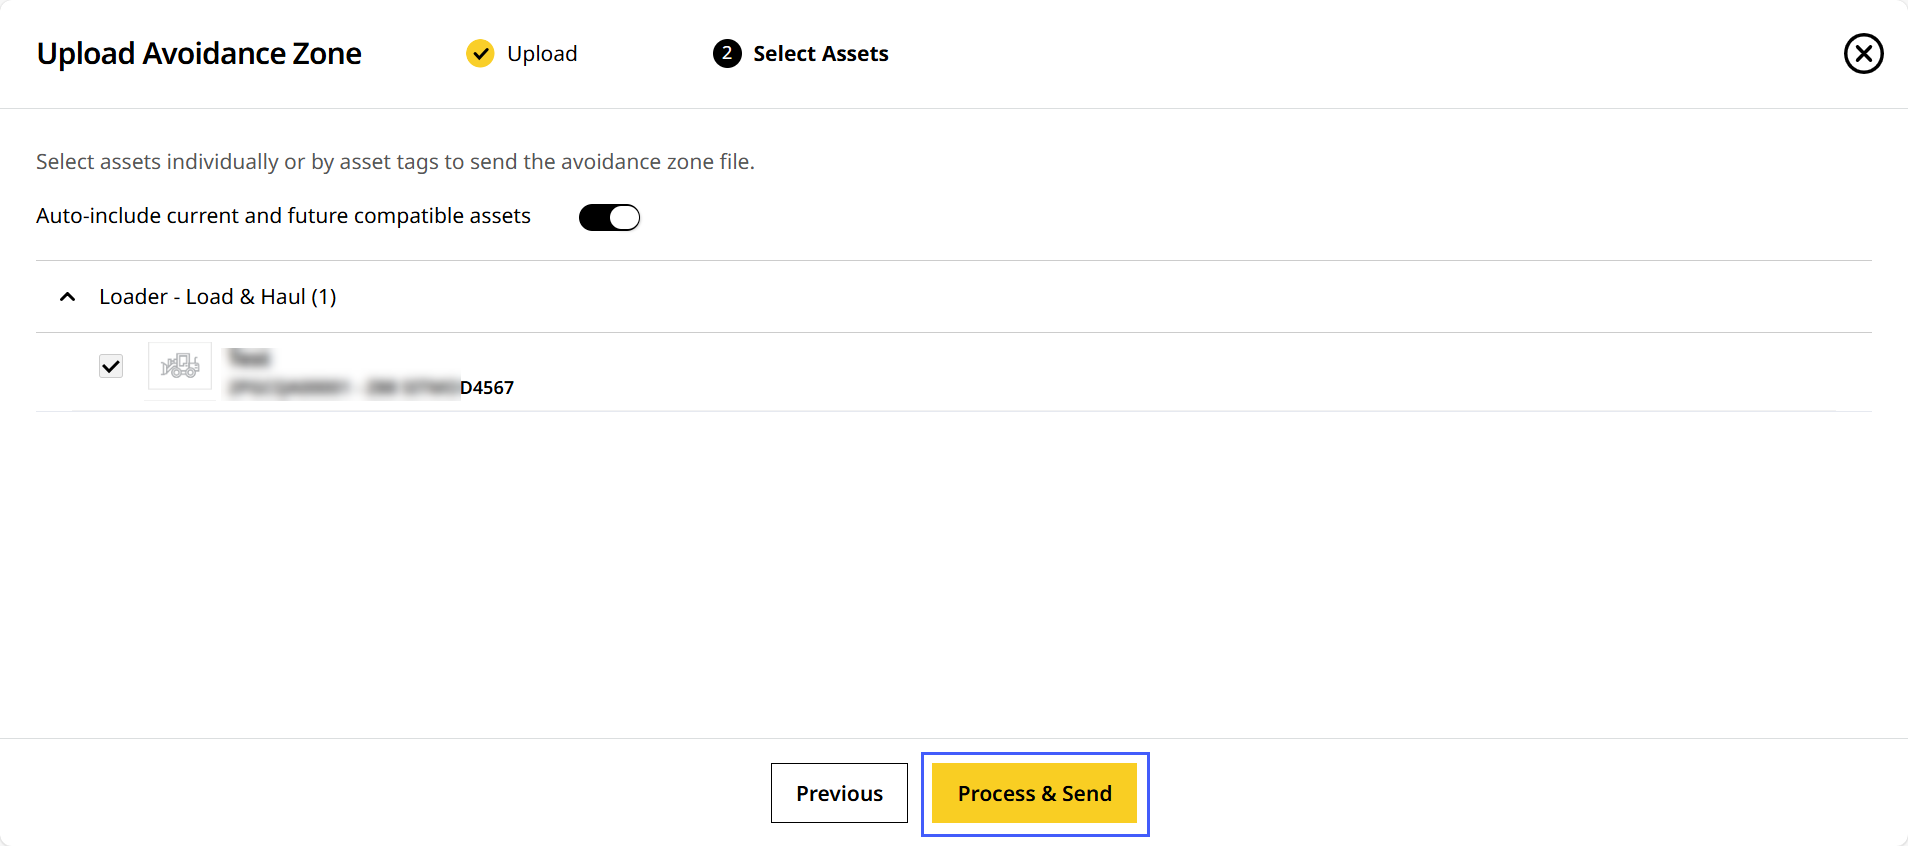
Click toggle on to select all assets in the list below and any more compatible assets added to the site in the future. This ensures the file will be synced to all of them going forward.
Creating Avoidance Zone File
To create Avoidance Zone File:
- Navigate to Manage > select Files > and click
 .
. - Select Avoidance Zone and click Create from the expanded menu.

- Select the desired site from the Site Name drop down.

On the Site Name drop down, you can search for your desired site to quickly find and select them.
Ensure that you need to upload calibration file for creating Avoidance Zone file.
View ImageView Image

-
If desired, select the aerial drone image of the site from the options displayed under Site Images.
• The default aerial drone image selection is set to "None".
• The selected site image is displayed as an overlay on top of the Google Map.

-
In the Map, select the Draw Avoidance Zone(s) icon
 and select the required shape option to draw the 2D Avoidance Zone from the Draw Avoidance (Zones) expanded menu. The available shape options are Circle, Rectangle or Polygon.
• File must include at least one closed polygon; polylines aren’t supported.
• File must contain no more than 800 closed polygon edges when creating an Avoidance Zone.
• Files with a mix of closed polygons and polylines won’t be sent to the asset.
• You can edit or delete an Avoidance Zone using the Edit or Delete
  icon.
icon.
• You can also create additional Avoidance Zones if required based on the requirement. -
Select Measure Distance icon
 to measure the area of a drawn Avoidance Zone or to determine the exact area where an Avoidance Zone should be created.
Double-click the starting point and then select the endpoint to measure the distance accurately using the Measure Distance icon .
. - Click Create .avoid.svl to generate Avoidance Zone file.
While creating an Avoidance Zone file, if the process is closed before completion, an error message will be displayed when you again select the same site.
View ImageView Image

-
On Upload .avoid.svl, give it a few minutes for the .svl file to be generated and processed.

-
Preview the processed Avoidance Zones by clicking Surface
 . Click Next to move to Select Assets.
• Adjust view with Zoom to Extent and Fullscreen options. You can also switch to either Satellite View, Terrain View or Avoidance Zone View by clicking Map Layers .
• Check Preview Files to explore more visualization features. -
On Select Assets, choose the assets where you want to send the uploaded files. Click Process & Send to proceed.

When no assets are available, an Active Asset Subscription message is displayed, instructing users to contact their administrator or dealer to add or renew a subscription in order to send designs to assets.
Toggle on to select all assets from the list and any more compatible assets added to the site in the future. This ensures the file will be synced to all of them going forward.